Purchasing
Create a purchase order
How to order stock from a supplier, send the order, and receive what arrives into inventory at cost.
Purchasing is where you order stock from your suppliers. Receiving an order puts those quantities into your inventory locations at the cost you paid, so there's no second step to update stock by hand.
One thing to know before you start: only lines you picked from Inventory add to your stock counts. A free-text line is recorded as received on the order, but CRMb has no item to add it to, so nothing moves in Inventory. Use an inventory item for anything you want counted.
Note — Purchasing comes with CRMb's Inventory add-on, $20/mo. If your workspace doesn't have it yet, this screen shows what the add-on covers and the owner can add it right there.
Step 1 — Open Purchasing
Purchasing sits in the left-hand navigation, under Inventory. It's an owner and manager screen — anyone else who opens it is sent back to the Dashboard. In the Mac and iPad apps it has no place of its own in the sidebar; purchase orders open from inside Inventory instead.
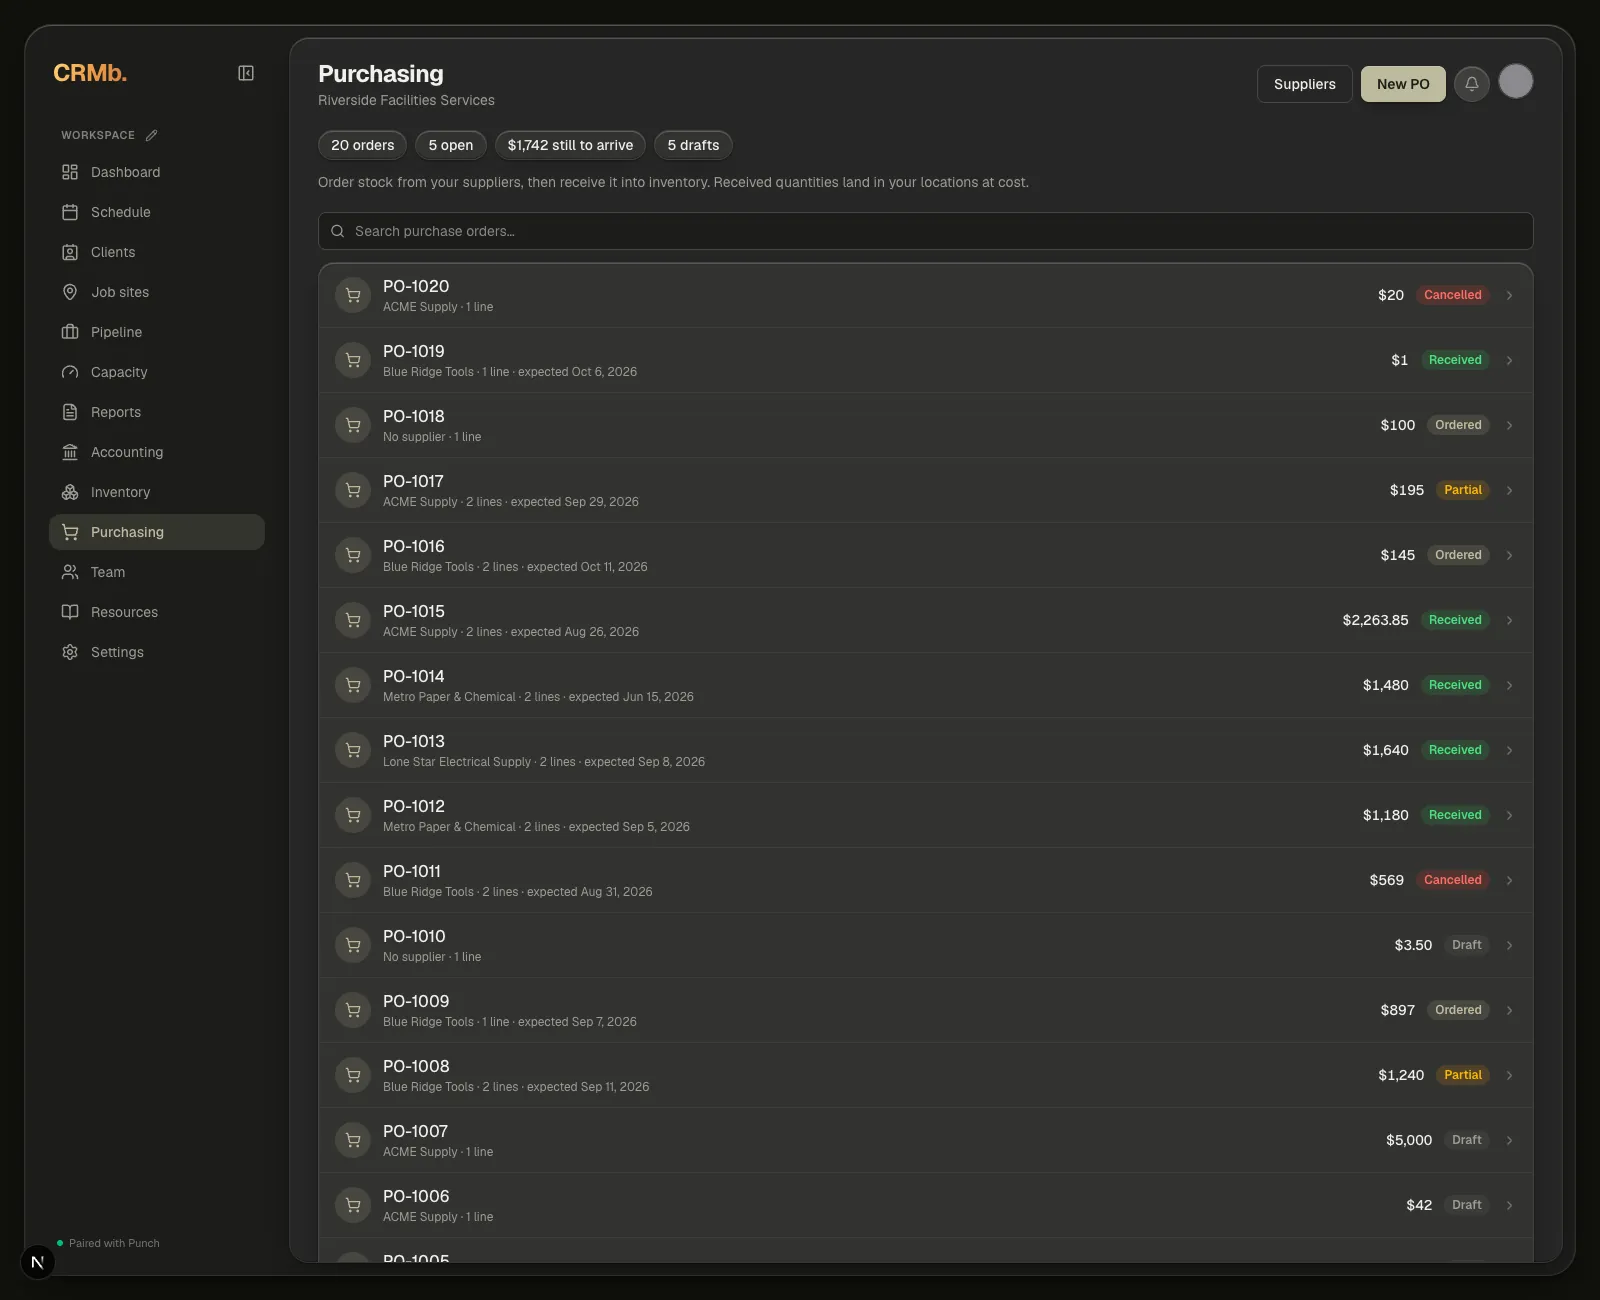
Across the top, a few counts sum up your orders: how many you have in all, how many are open — Ordered or Partial — and what is still to arrive on those open orders: each line's total less what was received, never below zero. Once you have a draft, a count of your drafts sits beside them; a draft hasn't gone to the supplier yet, so it is never counted as open.
Each order sits on its own row. The PO number reads first, and underneath it the supplier, the number of lines, and the expected delivery date if you set one. The order total sits on the right, with the status beside it.
An order carries one of five statuses. Draft is one you're still building. Ordered means it's gone to the supplier. Partial means some of it has arrived. Received means all of it has. Cancelled means you called it off.
Below the order list, Bills tracks what you owe your suppliers — add one with New bill, and log what you've paid against it with Record payment.
Step 2 — Set up your suppliers
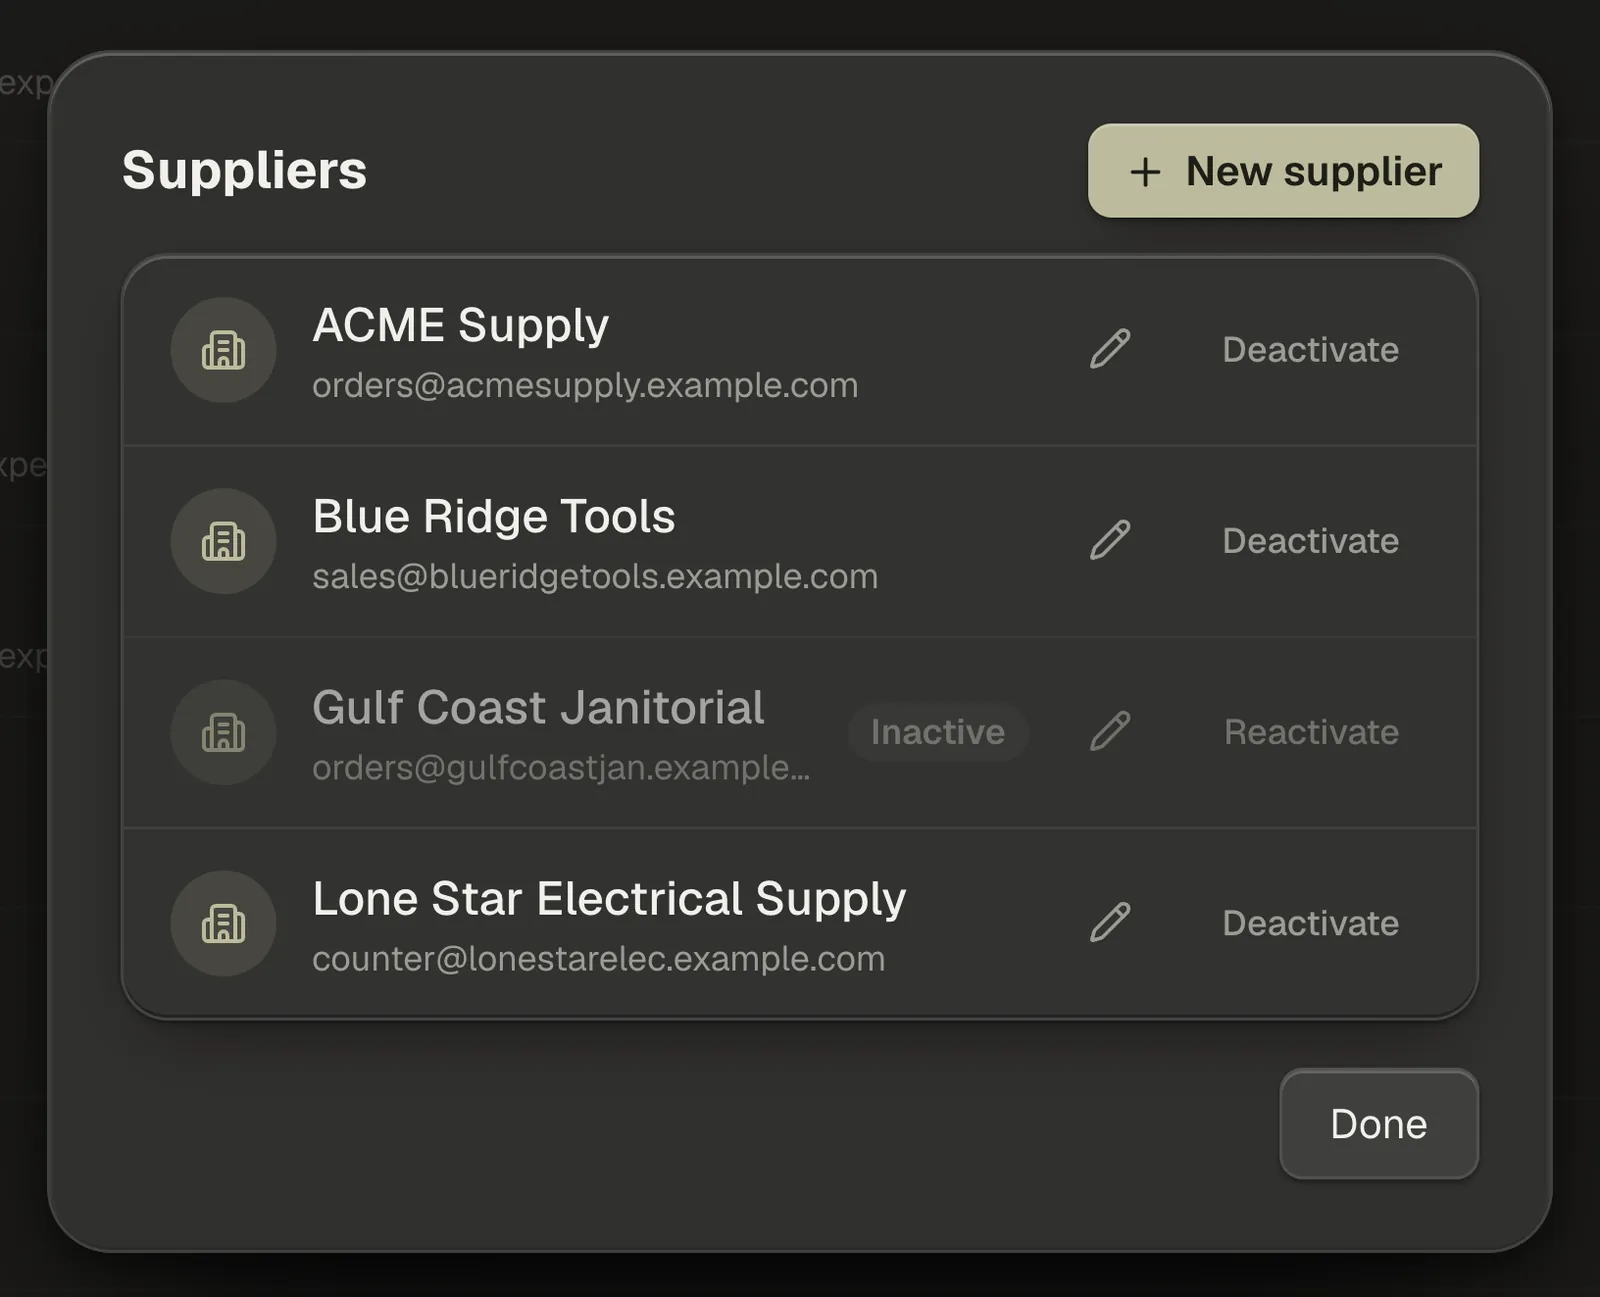
Before creating an order, click Suppliers to see who you buy from. Add one with New supplier — only a name is required; email, phone and Notes (optional) (account number, rep, lead times) are all optional. Save it with Create supplier.
Each supplier row has a pencil to edit it and a Deactivate button to retire one you no longer use. A deactivated supplier stays on its old orders and can be brought back with Reactivate.
Step 3 — Create a new PO
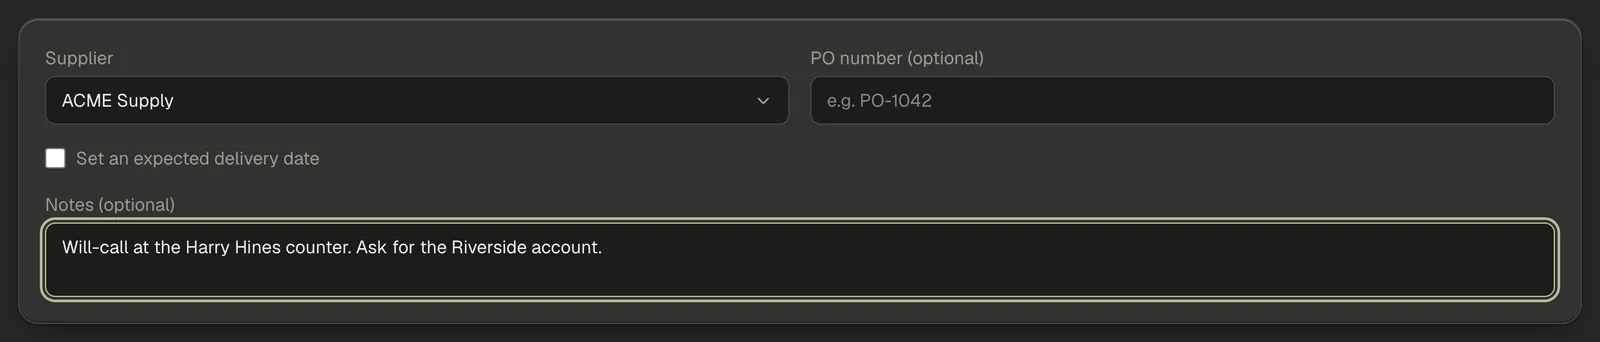
Click New PO from the Purchasing page. Pick a Supplier, or leave it on No supplier.
PO number (optional) is exactly that — leave it blank and CRMb numbers the order for you, starting at PO-1001 and counting up. For the date, tick Set an expected delivery date and then pick one; leave it unticked and the order simply carries no date. Notes (optional) takes delivery instructions, account numbers, anything worth recording.
Step 4 — Add line items
Each line starts with an item picker. Free text sits at the top of that list, above your Inventory items — pick an inventory item to tie the line to a real SKU, or choose Free text and type the name yourself. Set the quantity and unit cost, and the amount and Order total update as you go. Add line gives you another row.
Save it with Create purchase order.
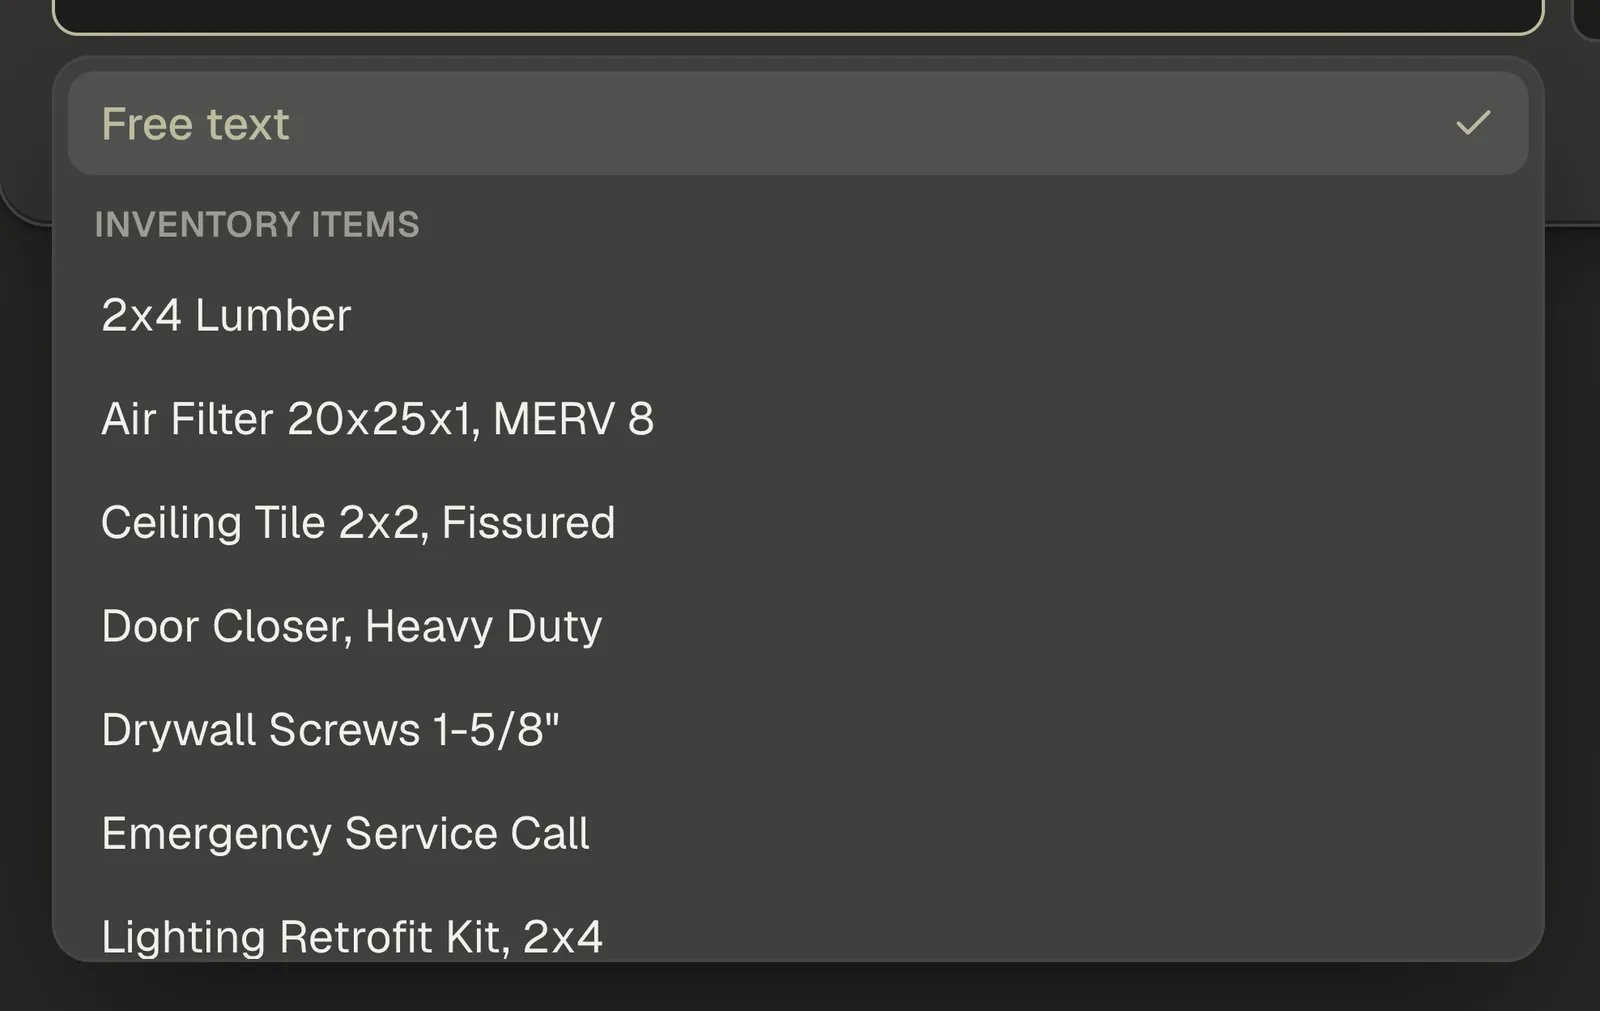
Note — Free-text lines never reach your stock counts. If you want a line to change what Inventory says you have, pick it from Inventory items.
Step 5 — Send it to your supplier
There's no separate step to place the order. Emailing it to the supplier is what places it, so a draft moves to Ordered the moment you send it. Open the order and click Send as email: CRMb fills in the supplier's address, a subject and a message, and you can change any of it before it goes. The order's lines and total go out in the body of that email, underneath your message. Purchase orders send through your own Gmail, so the first time you'll be asked to Connect Google.
You can edit an order while it's still a draft. Once it's gone to the supplier the Edit button drops away, because the order sitting in the supplier's inbox no longer matches anything you'd change here.
While an order is still open you'll also find Cancel order and Delete beside it. A cancelled order can be brought back with Reopen, and Delete stops being offered once stock has landed against it. On a fully received order those give way to Duplicate as new draft, which hands you the same lines to order again.
Step 6 — Receive the stock
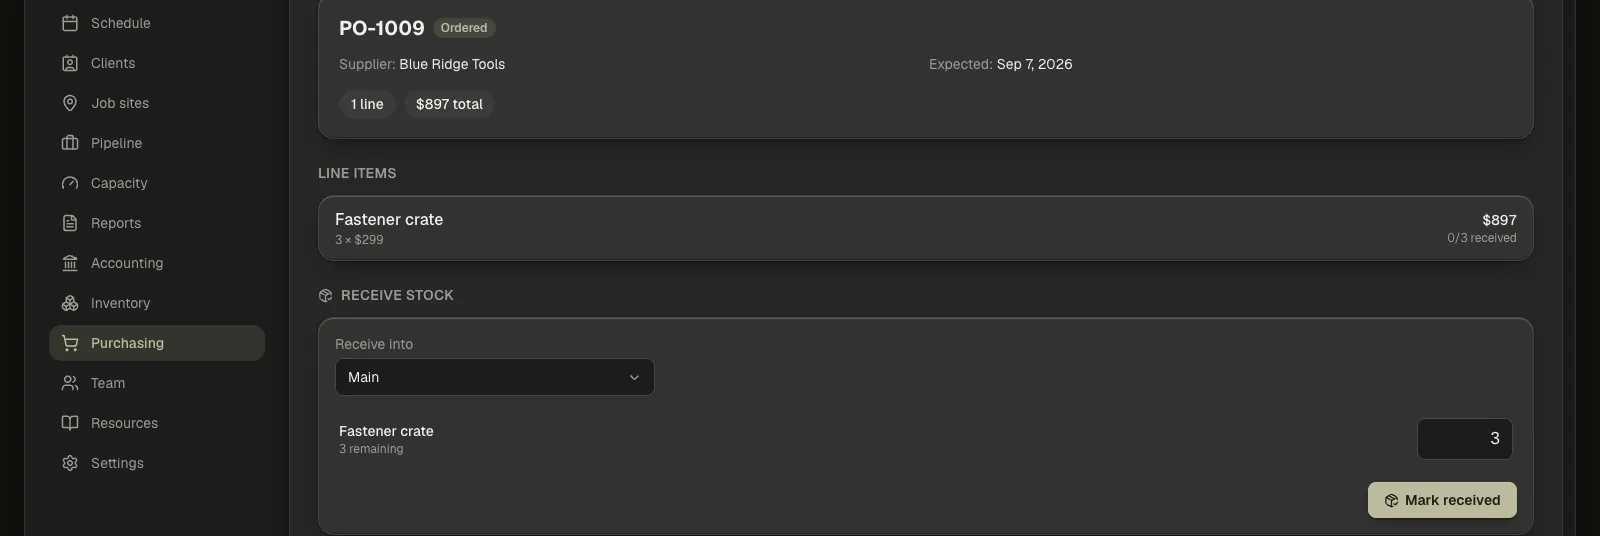
When the delivery turns up, open the order and use Receive stock at the foot of the page. If you keep stock in more than one place, pick which location it's landing in under Receive into; with a single location CRMb sends it there and shows no picker. Each line shows how much is still outstanding — type what actually arrived and click Mark received.
You can receive less than the full quantity if a shipment comes up short. The order then reads Partial, and it only flips to Received once every line is complete. You can also receive against a draft without sending it first.
Note — Received quantities land in inventory at the order's unit cost, and only for lines tied to an inventory item.