Pipeline
Pipeline tasks
A step-by-step guide to creating, assigning, and completing a task on the Pipeline board.
The Pipeline board is where work that isn't a shift lives — punch lists, follow-ups, bugs in a build, the ten things standing between a job and its final invoice. This guide walks through creating a task, filling in its details, and moving it across the board to done.
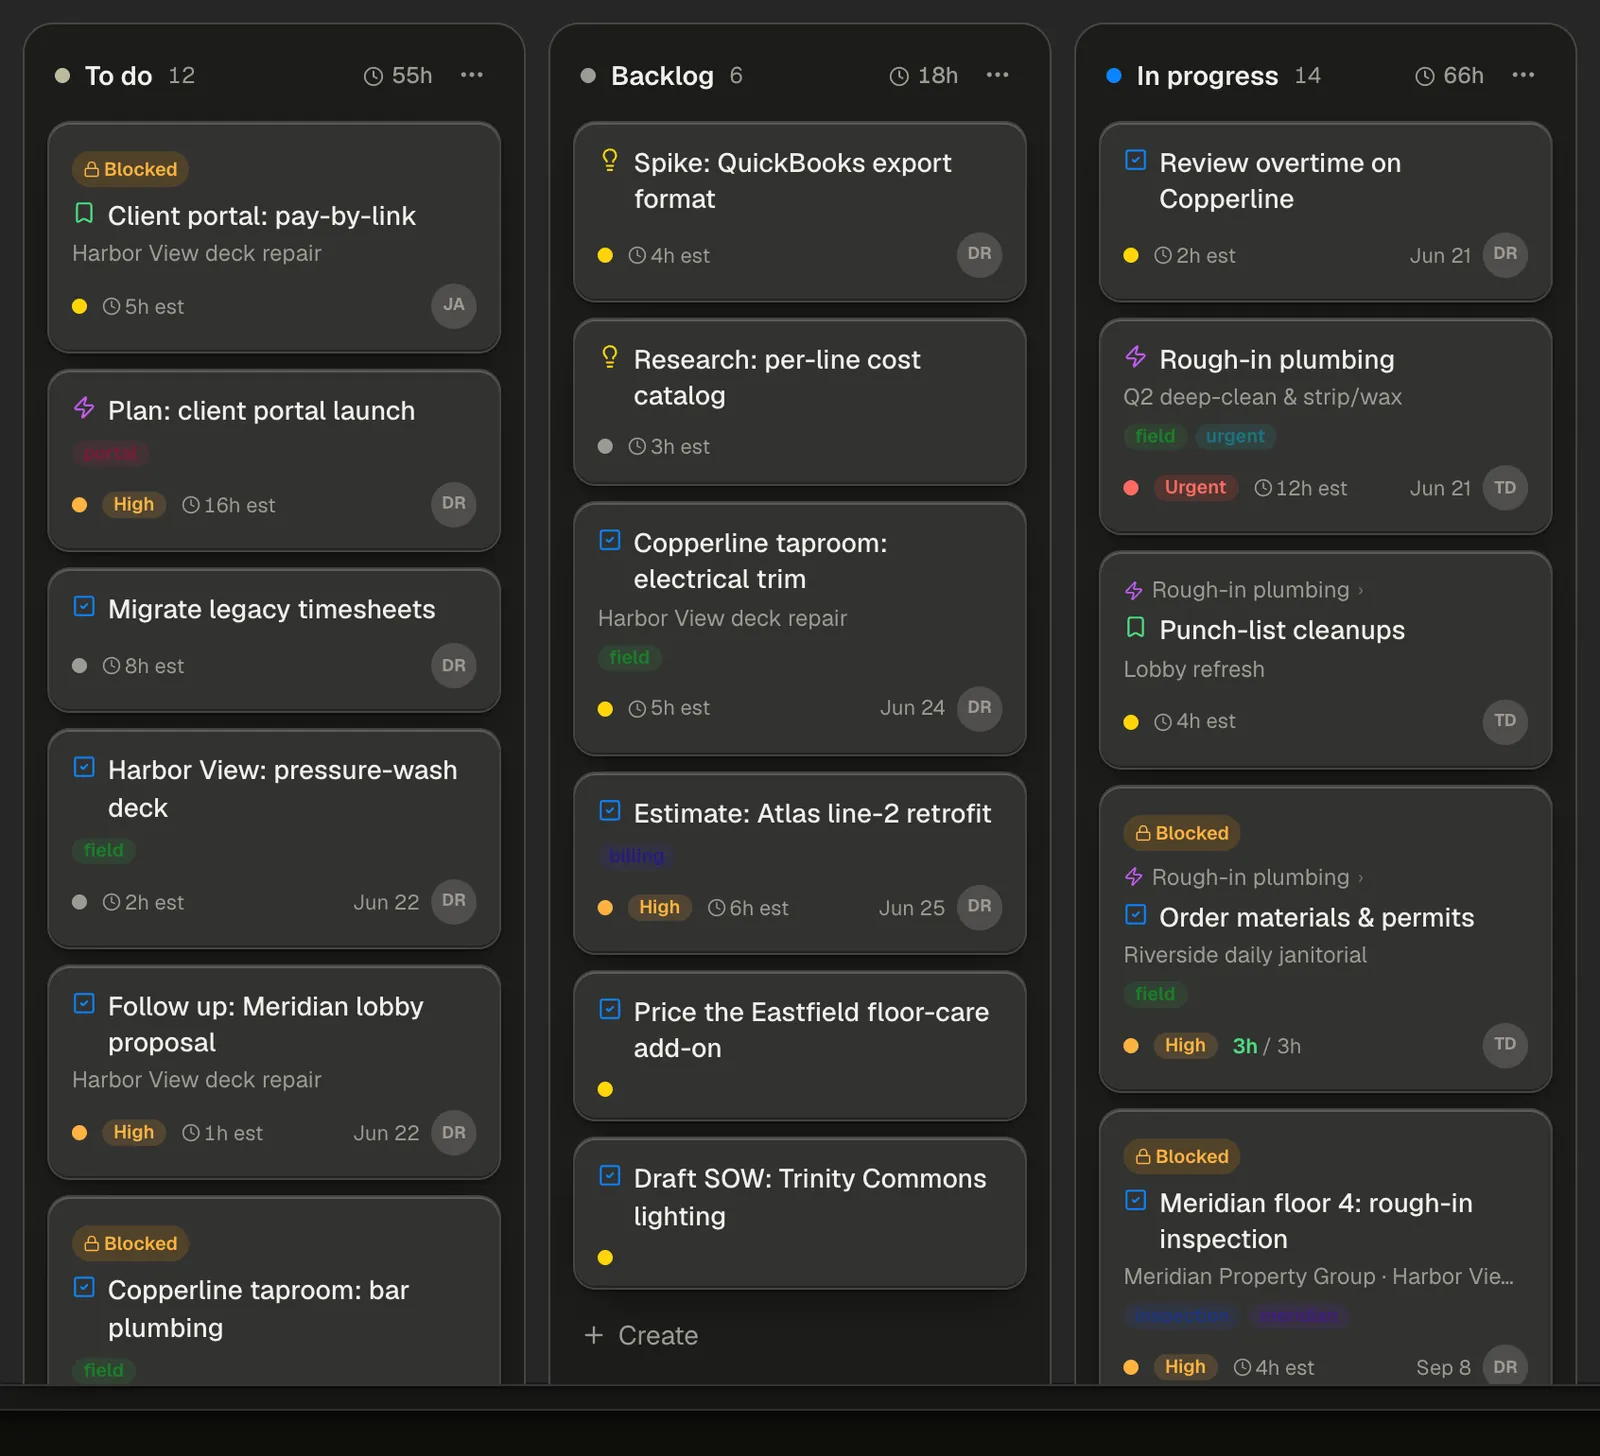
A new business starts with five columns — Backlog, To do, In progress, In review and Done — but they're yours to change, so the columns on your board may read differently from the ones in these pictures.
Part 1 — Create the task
Step 1 — Open Pipeline and start a new task
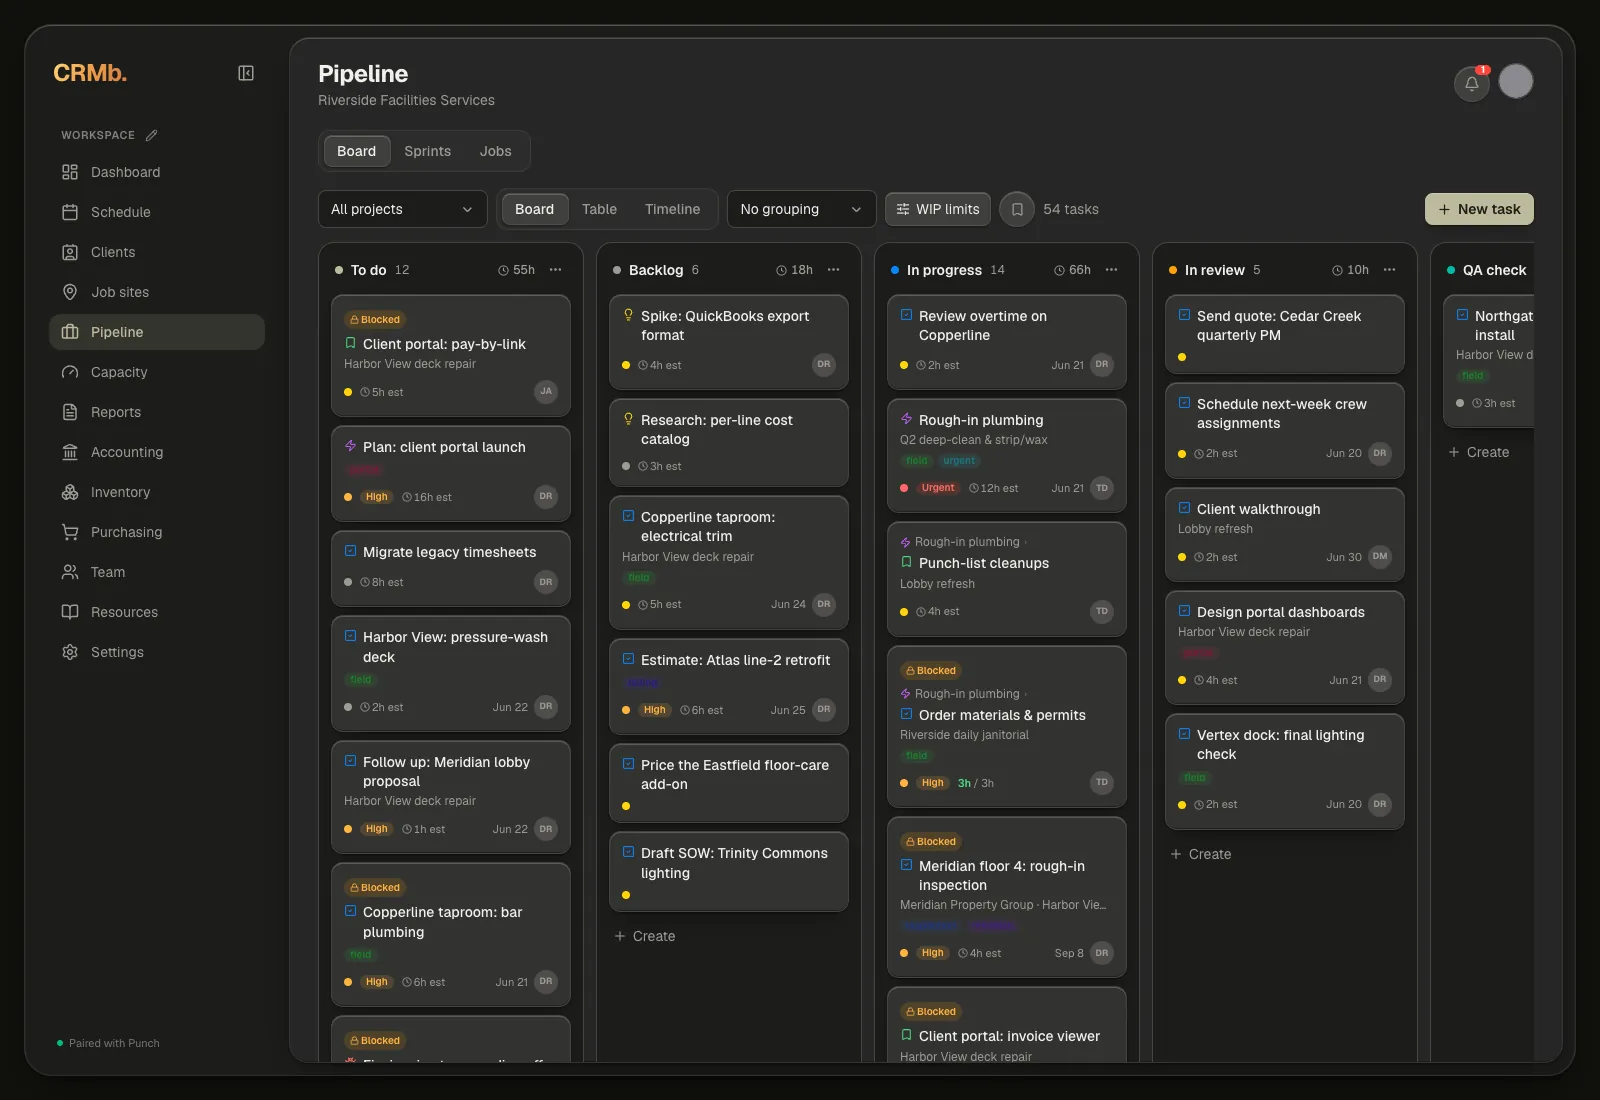
Pipeline holds three views, side by side at the top: Board, Sprints and Jobs. Board is the one this guide is about. Click New task at the far right of the toolbar to start one.
Each column header carries the number of cards in it. Once any of those cards has an estimate, the column also totals those hours on the right. If the row is wider than your window, scroll sideways to reach the last columns.
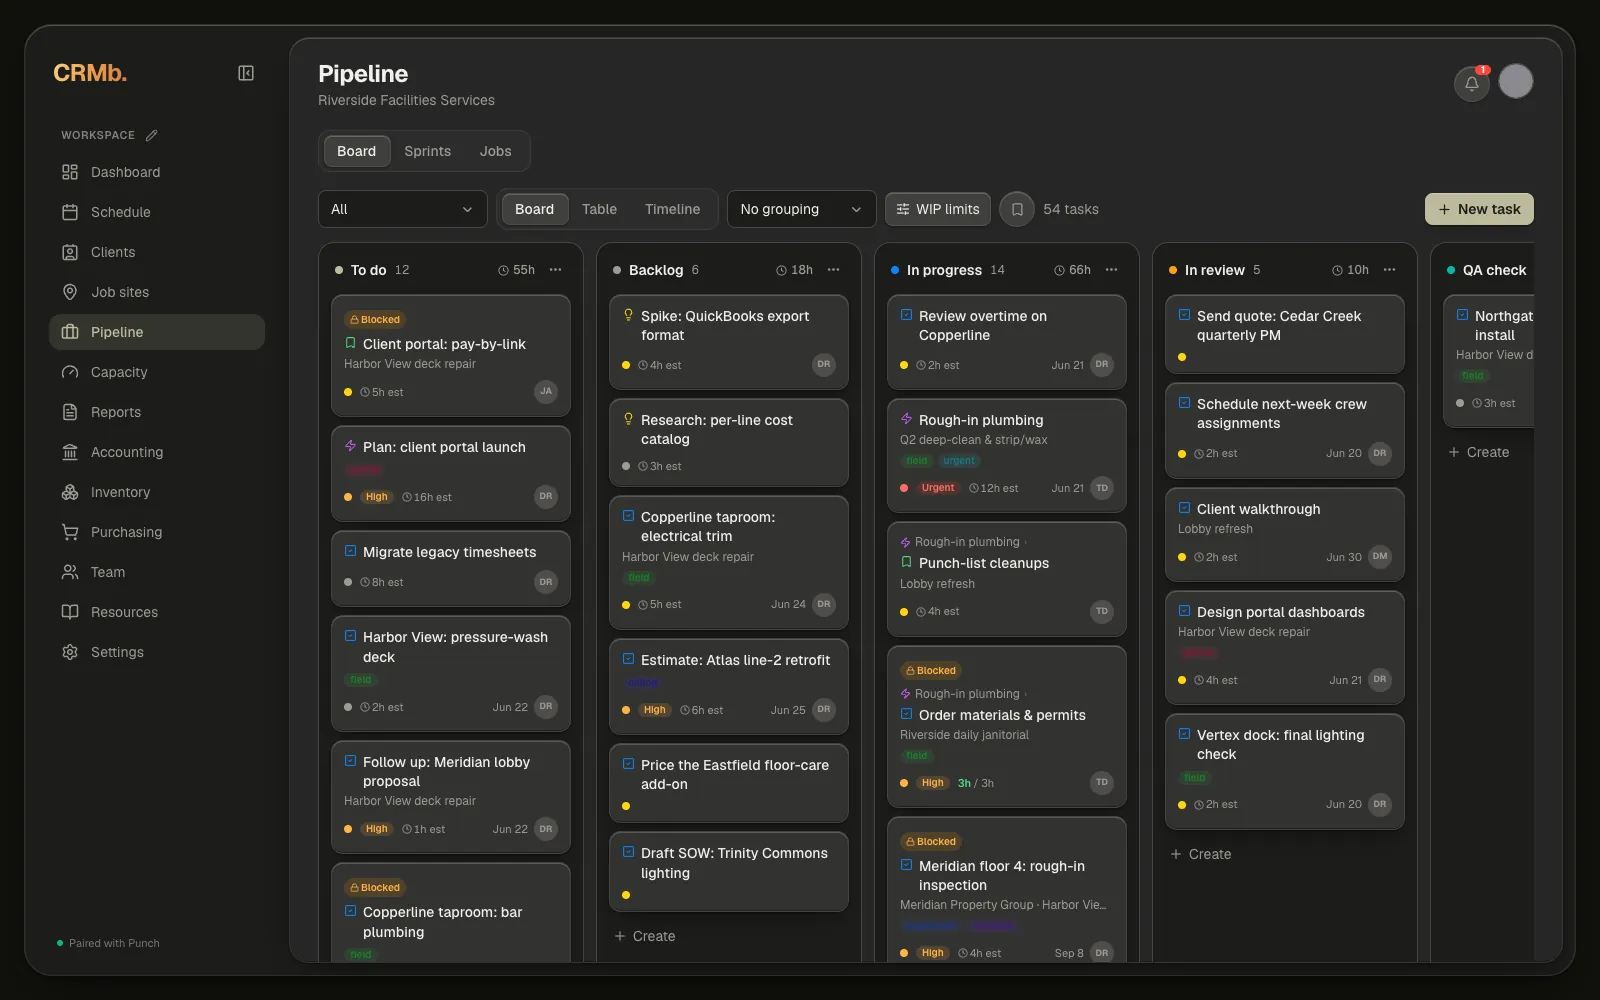
Note — The columns are your own. The ⋯ menu on any column header offers Edit bucket… — which renames it, recolours it, and sets whether cards in it count as not started, in progress or done — plus Move left, Move right and Delete bucket…. Add bucket at the end of the row gives you another one. Each column also has its own Create button at the foot, if you'd rather start a card in place.
Note — Inside Board you can switch the layout between the columns, a Table and a Timeline; group the columns by person, project or priority with the No grouping picker; and save an arrangement you use often to Saved views. Managers and owners also get WIP limits, which caps how many cards a column should hold and turns its count red when it goes over.
Step 2 — Enter a title and choose a task type
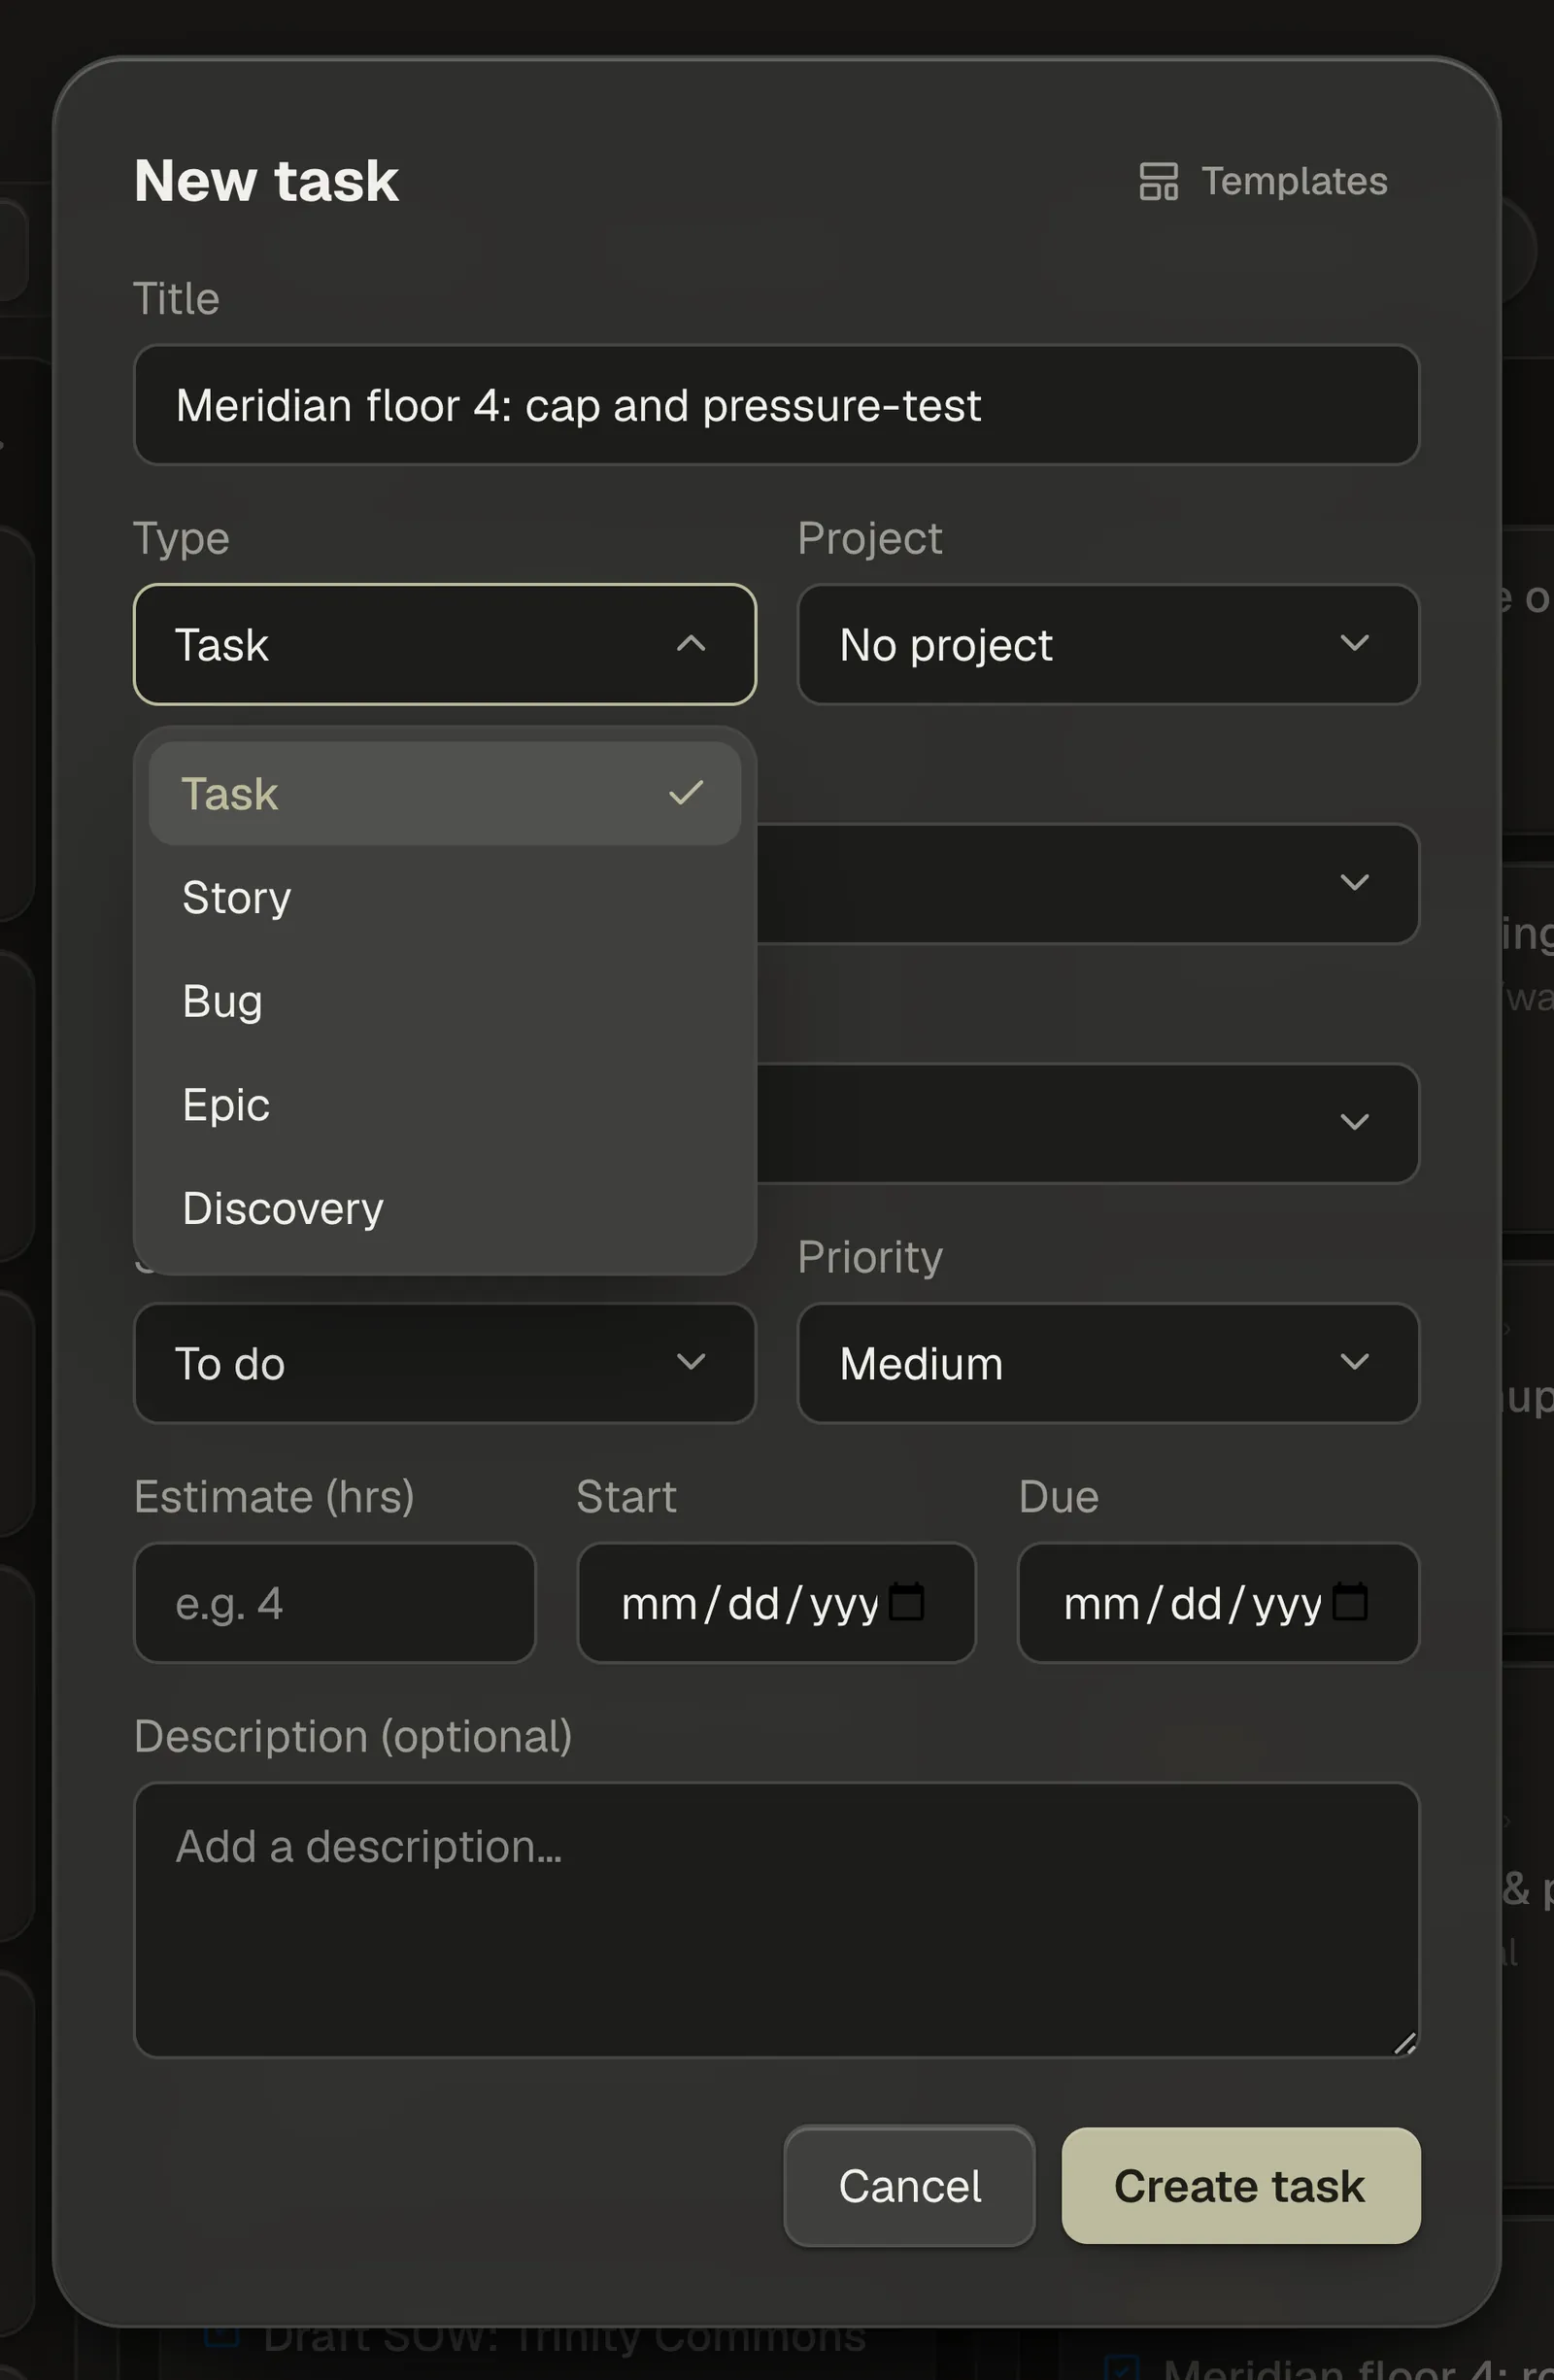
Give the task a Title, then use the Type picker to say what kind of work item it is: Task, Story, Bug, Epic or Discovery.
Templates sits in the top corner of the window, beside the New task heading. If this is work you file often, save the shape of it there once and apply it next time.
Step 3 — Epics and subtasks
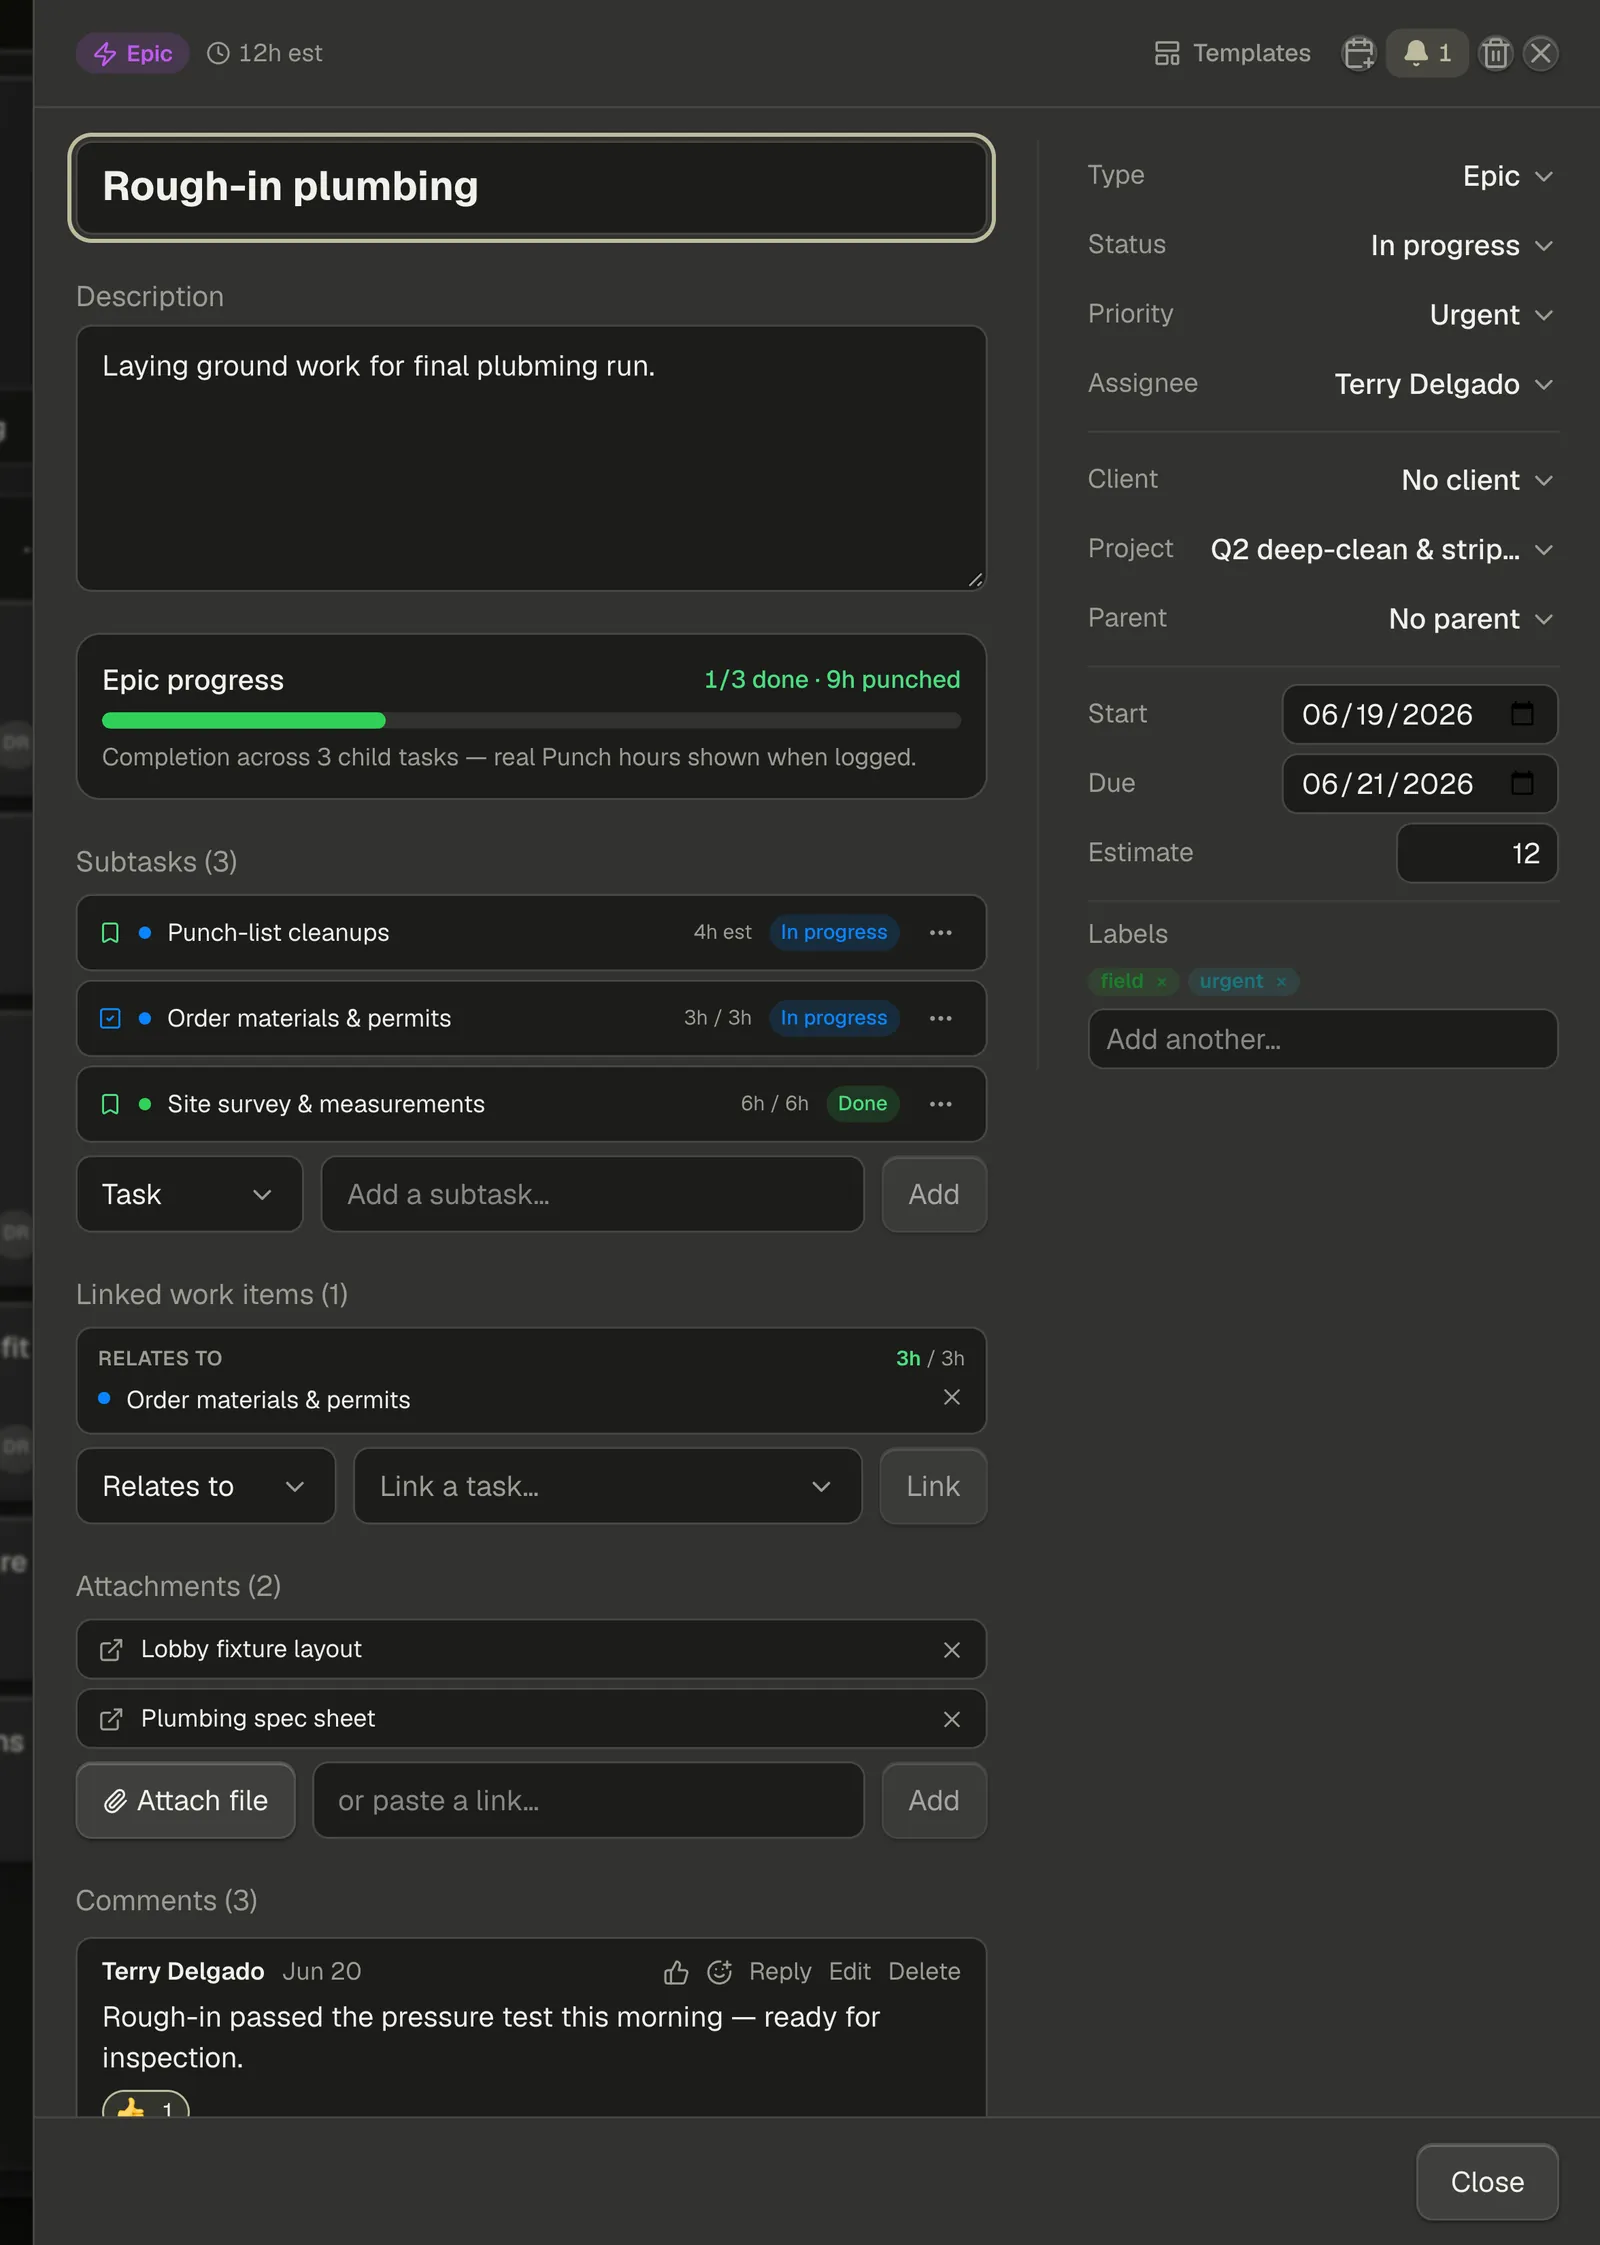
An Epic is the type you pick when a piece of work needs breaking up. You add the children afterwards, on the task itself: open it and use Subtasks — pick a type, type a title into Add a subtask…, and click Add. Any task can hold subtasks, but only an Epic with children draws a bar.
That bar is Epic progress, and it fills by how many of those children are finished — not by hours, because plenty of work finishes without anyone punching against it. When Punch hours have been logged on the children, they're shown alongside as a note.
Step 4 — Say what it's for
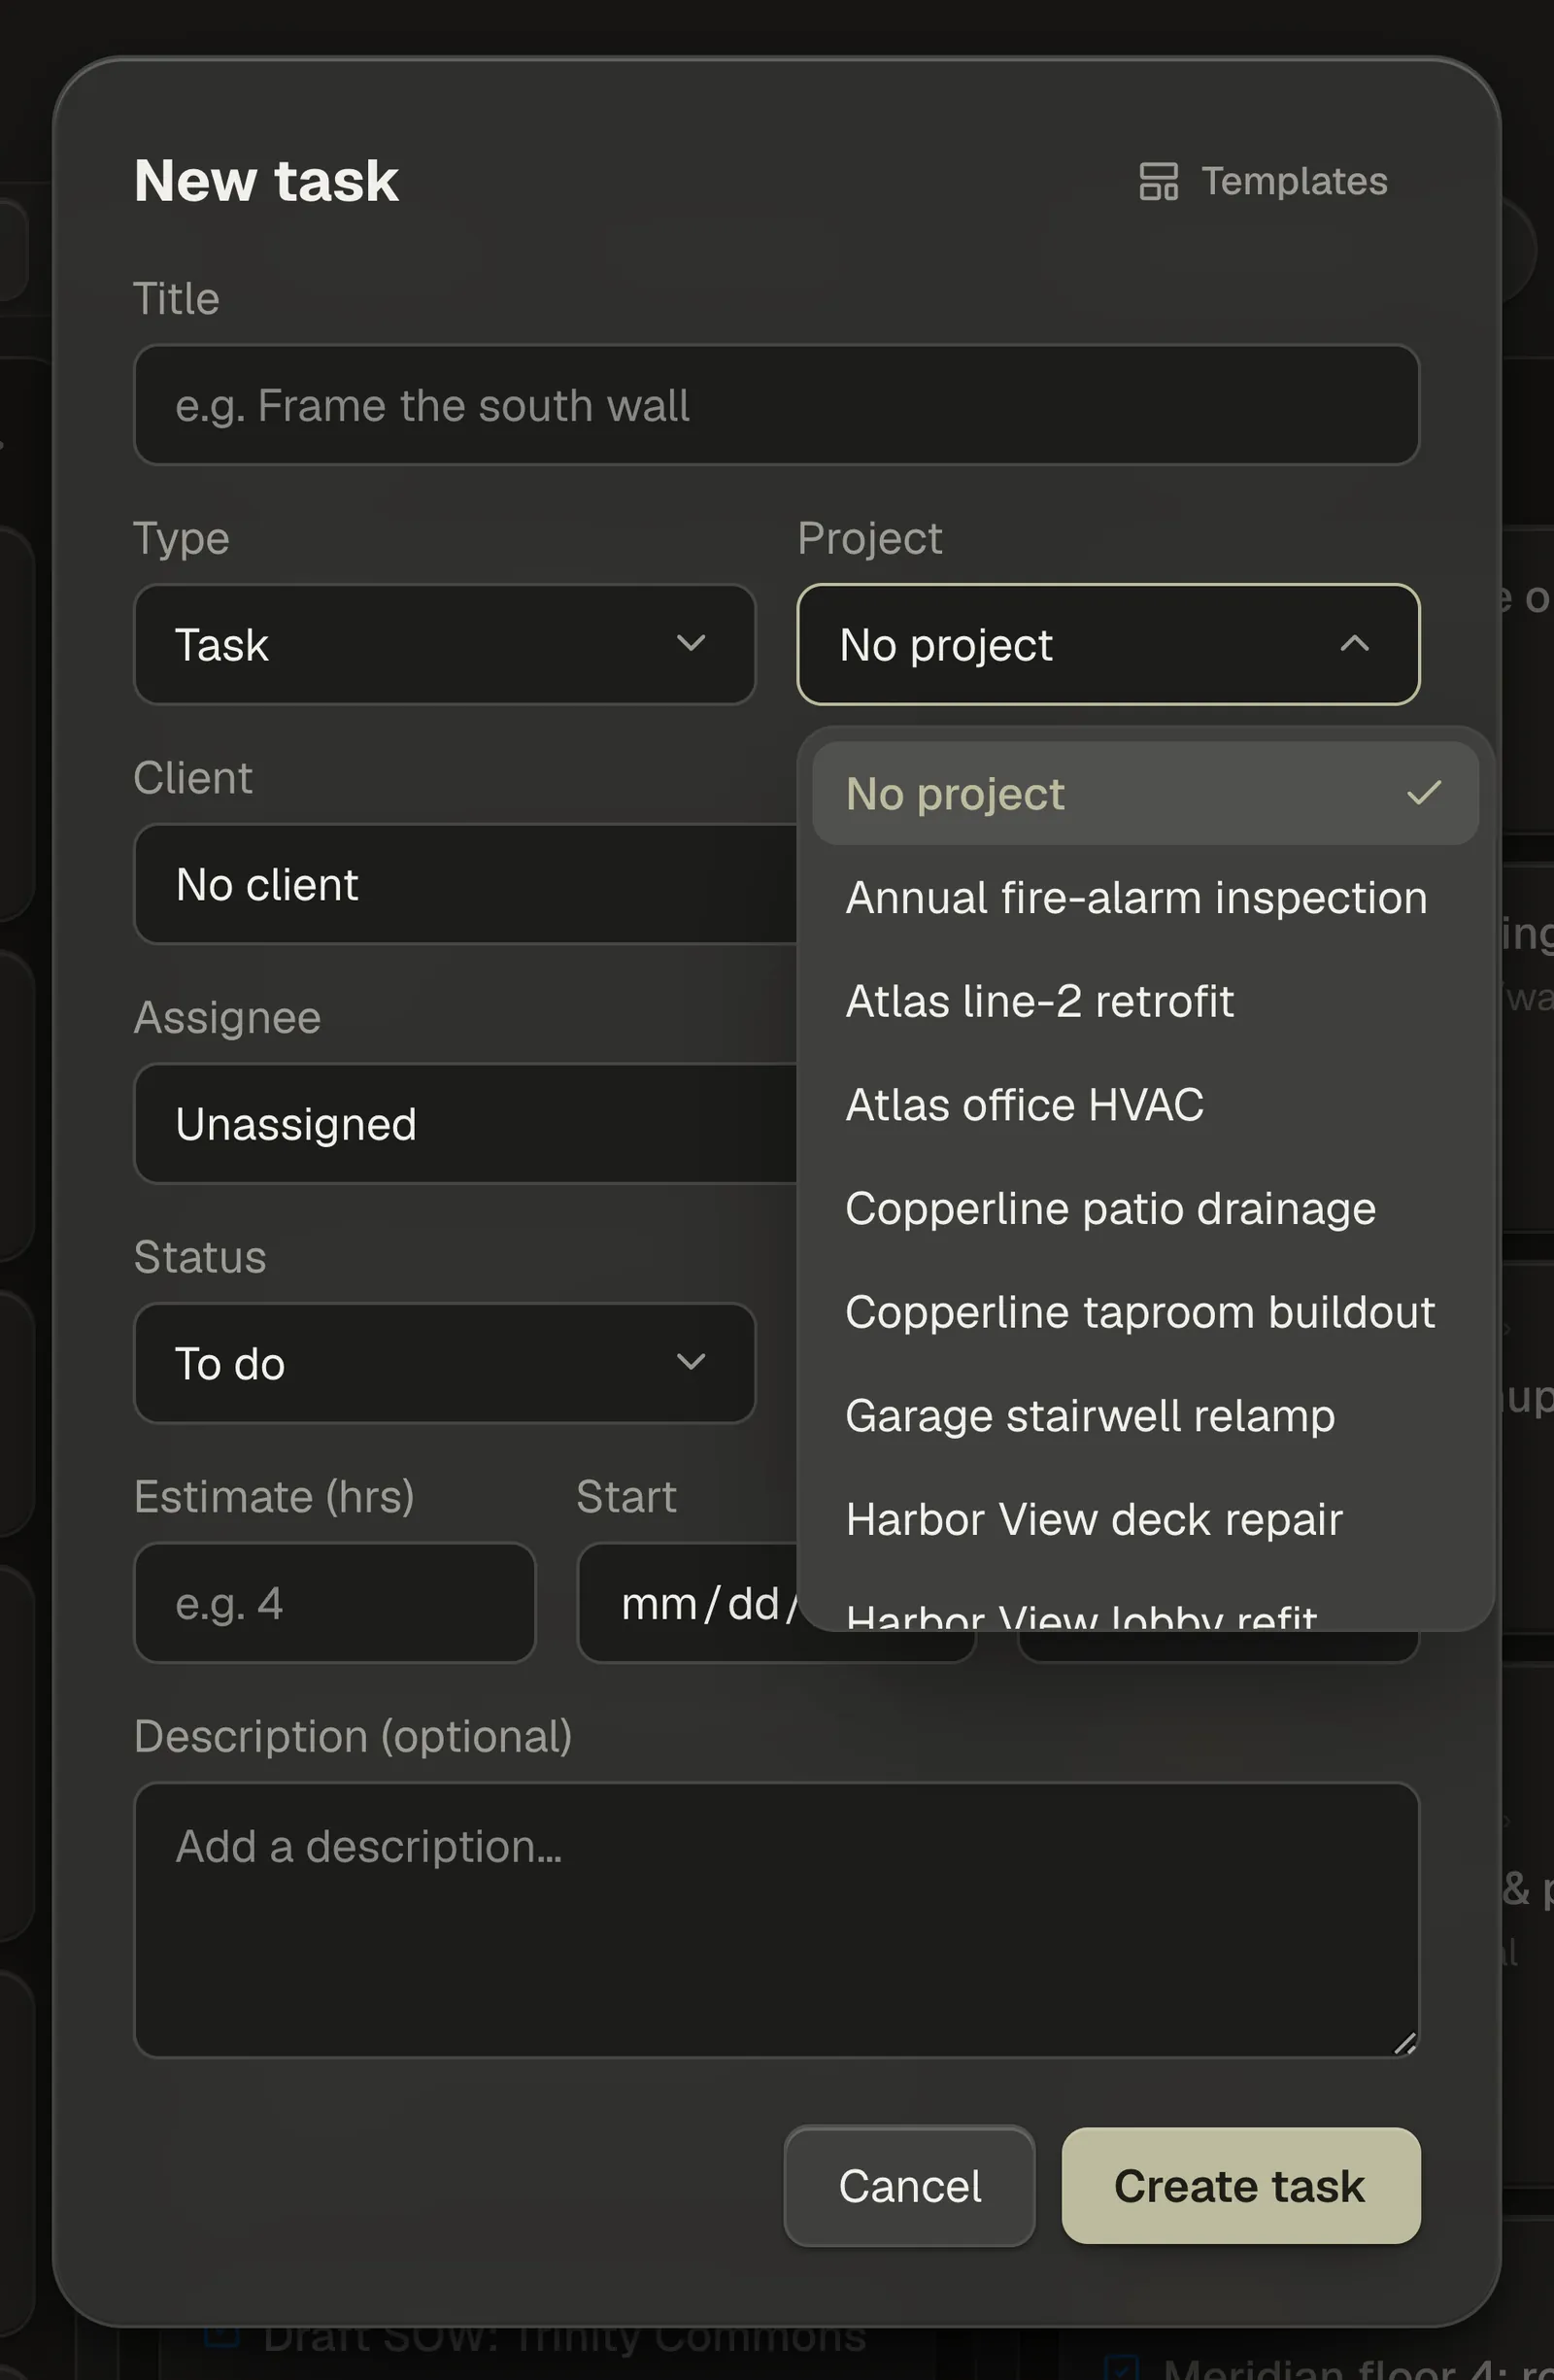
Project attaches the task to one of your jobs. Choose No project if it isn't tied to one.
Directly below it, Client links the task to a customer even when there's no job for it yet — a follow-up call, a warranty visit. Leave it on No client if it doesn't belong to anyone in particular. Fill in either, or both: the card shows whichever it has.
Step 5 — Assign the task
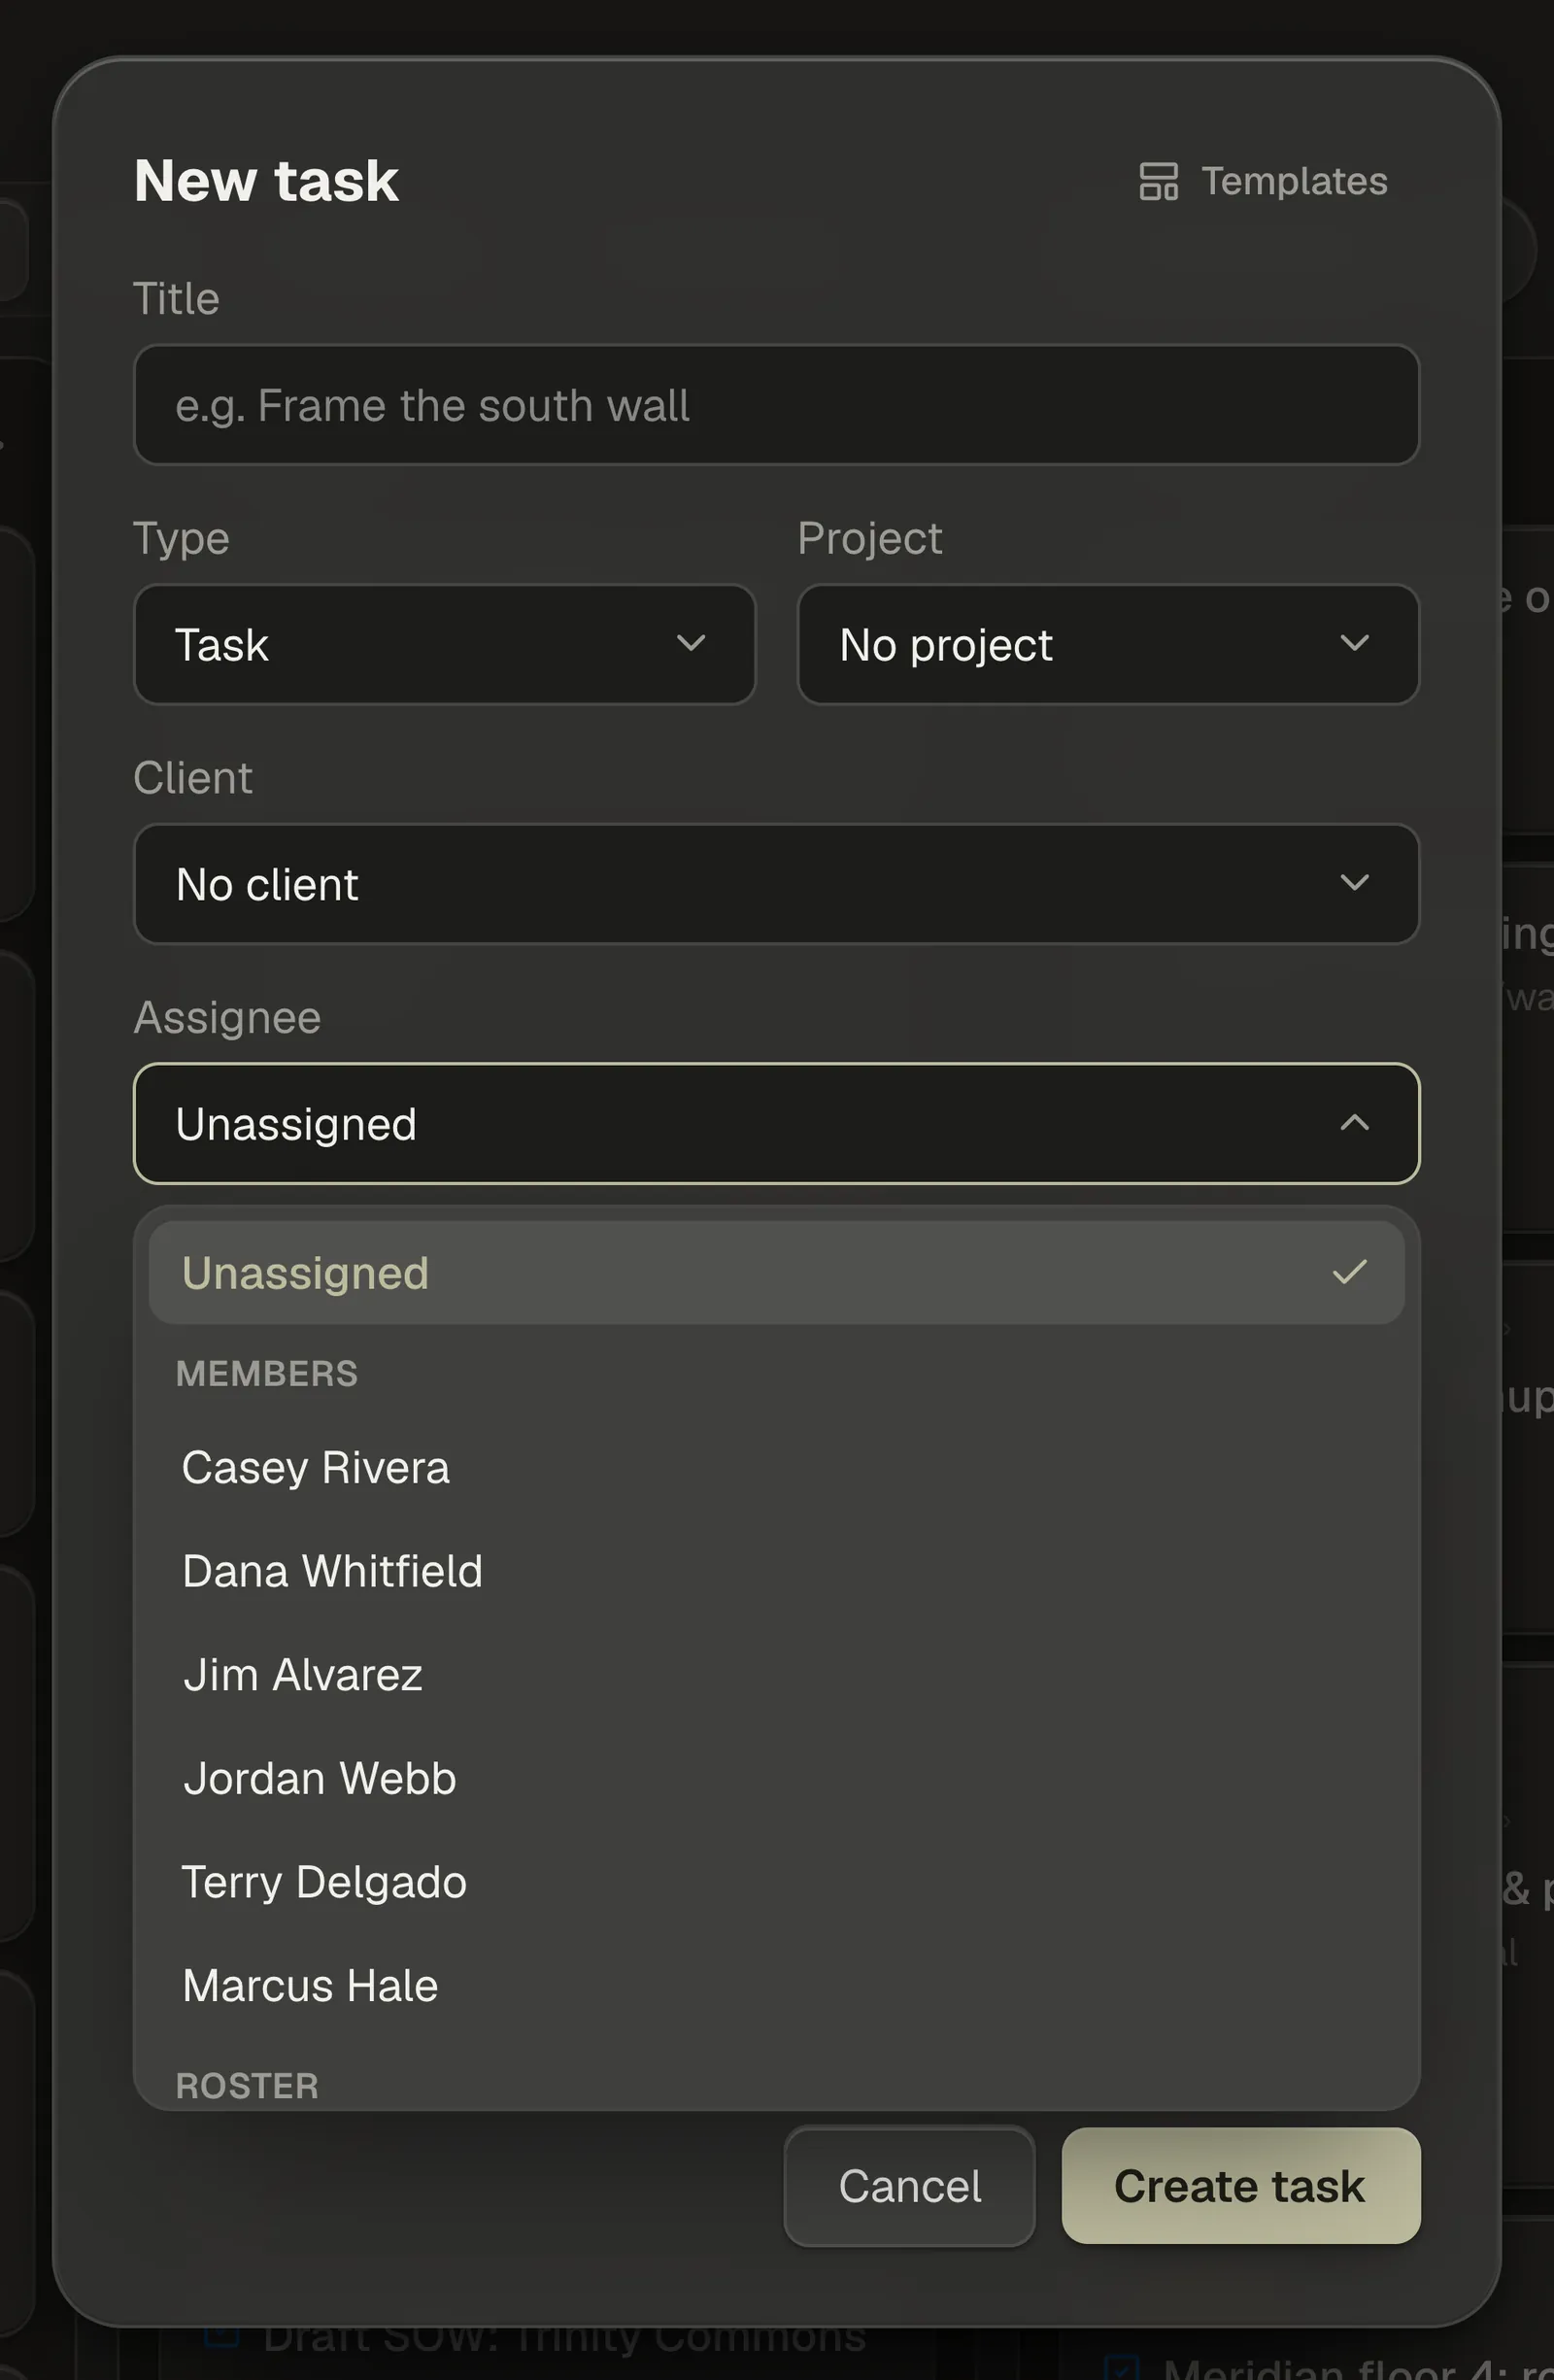
Open Assignee and pick someone. Teammates with an account are listed under Members, roster-only staff under Roster, and both halves are alphabetical. Leave it Unassigned if you don't know yet.
Step 6 — Set the starting status and priority
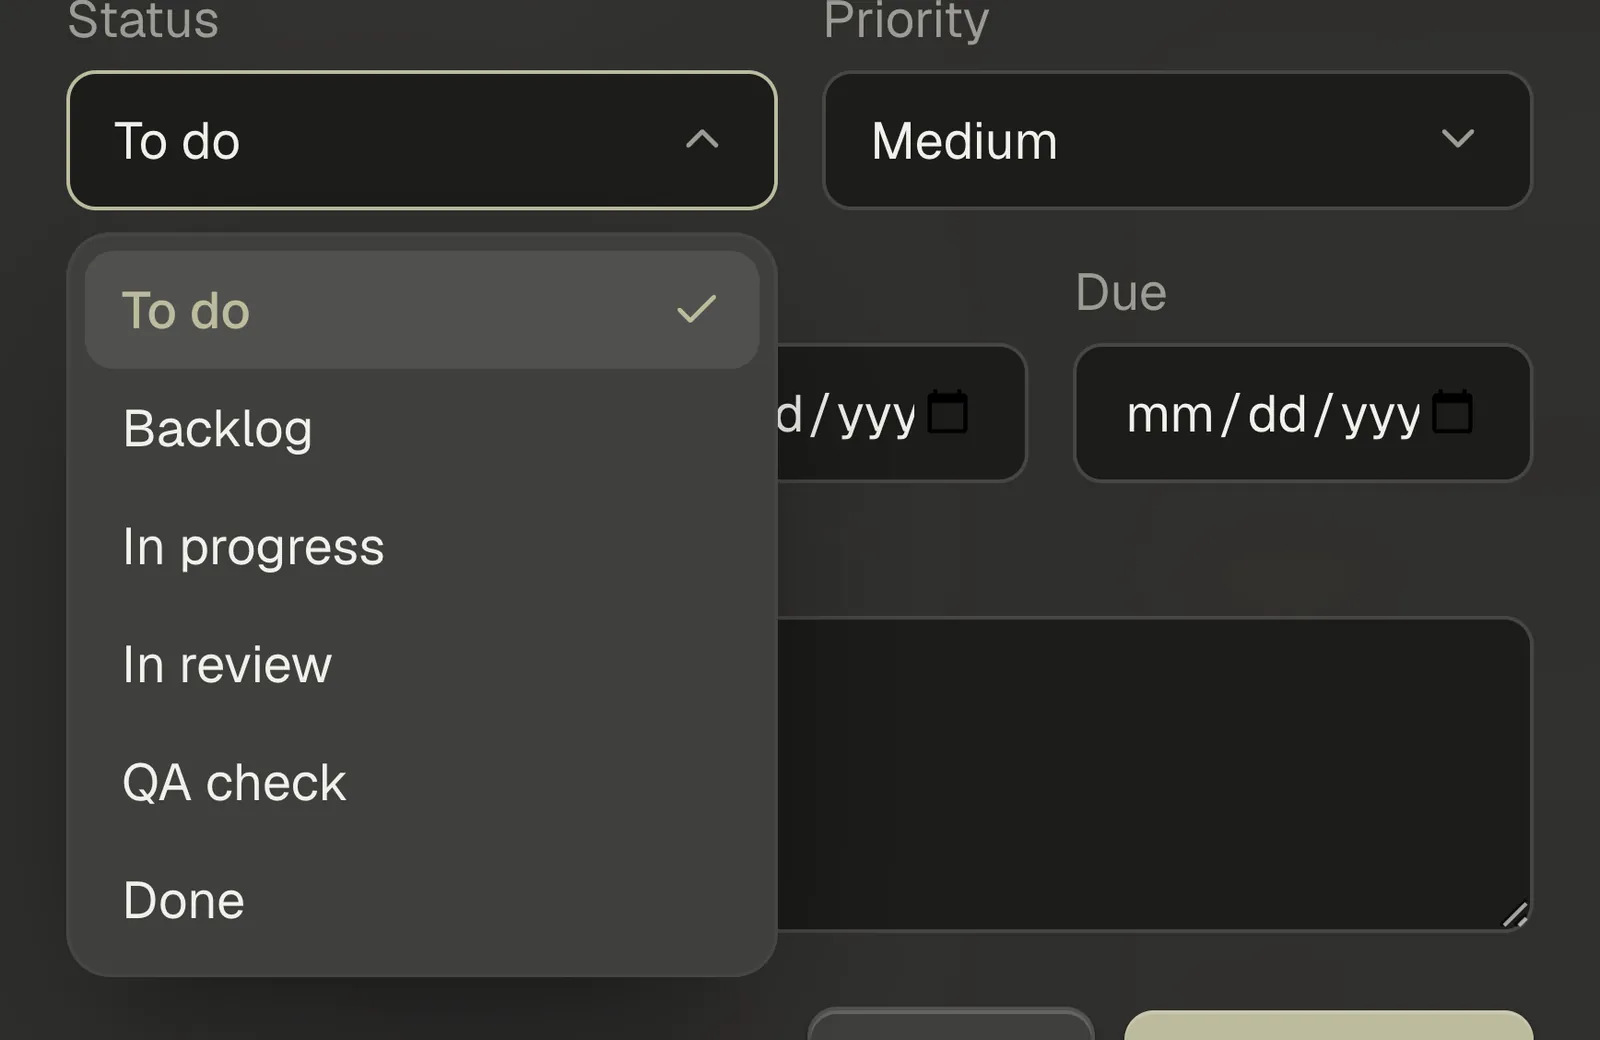
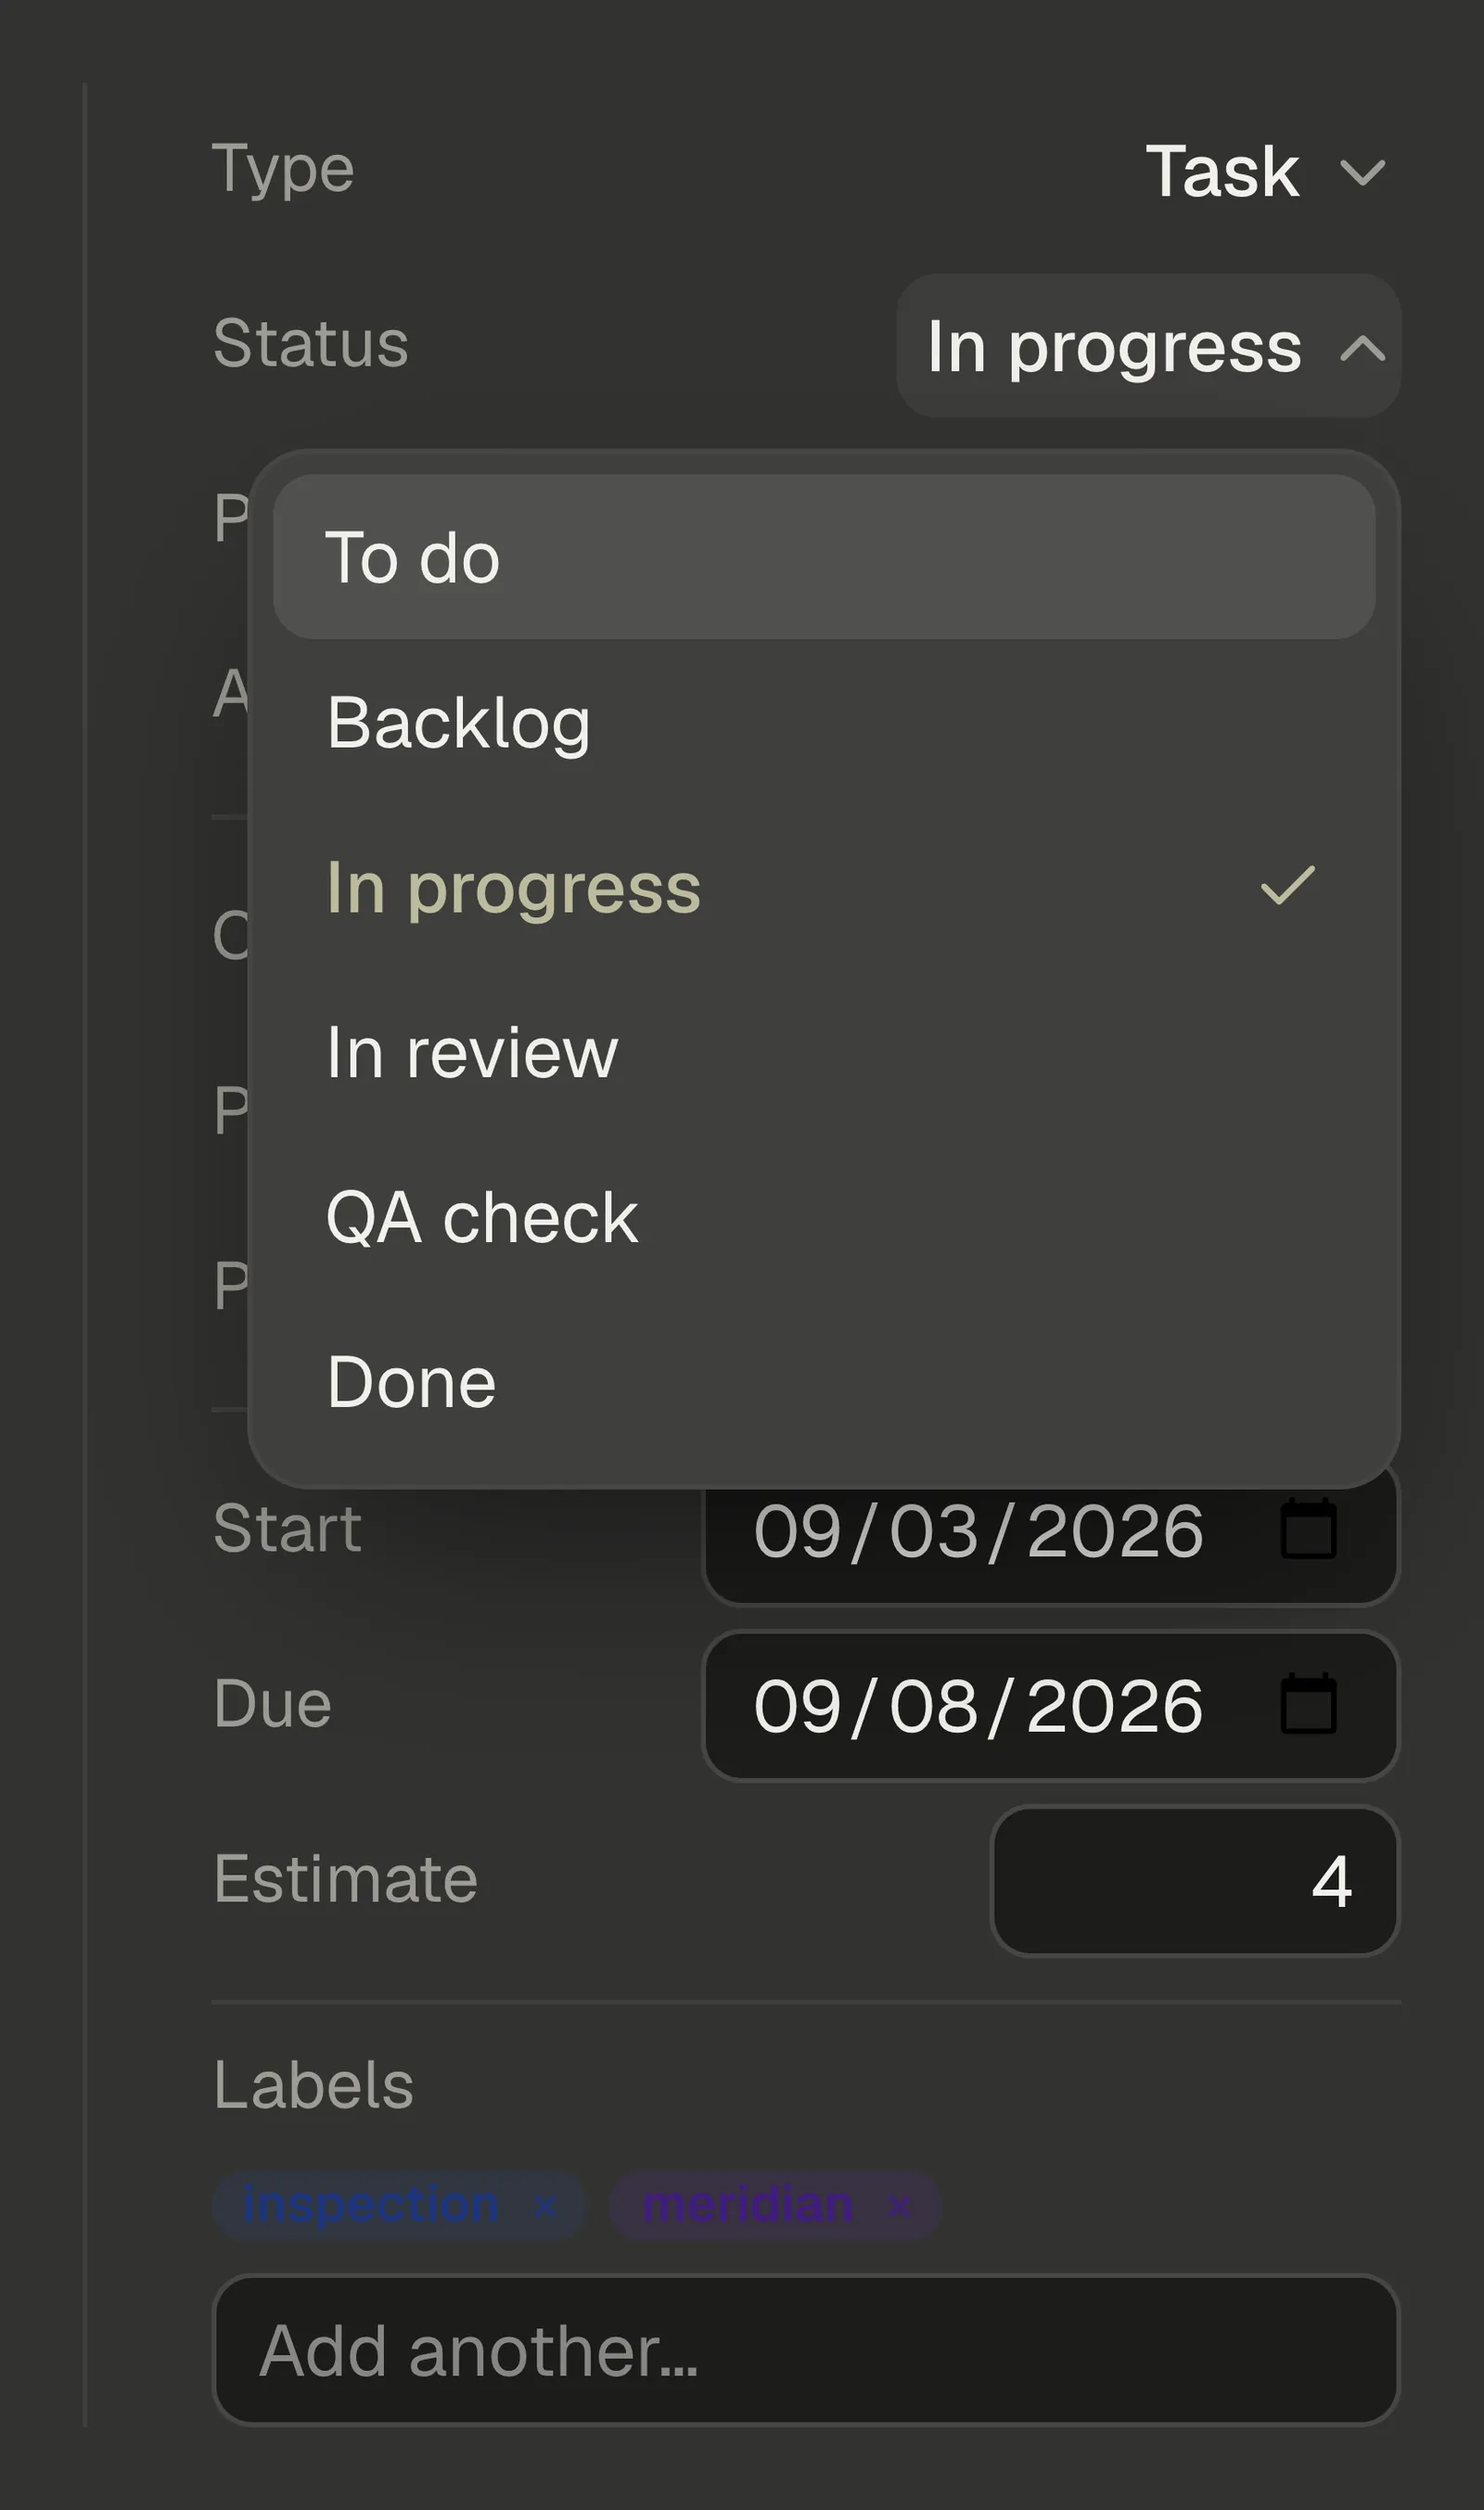
Status places the task in a column. The list here is your board's own columns, in board order.
Priority sits beside it and starts on Medium. Low, Medium, High and Urgent are the four choices; High and Urgent also put a coloured chip on the card so they're readable at a glance.
Step 7 — Set the estimate and dates
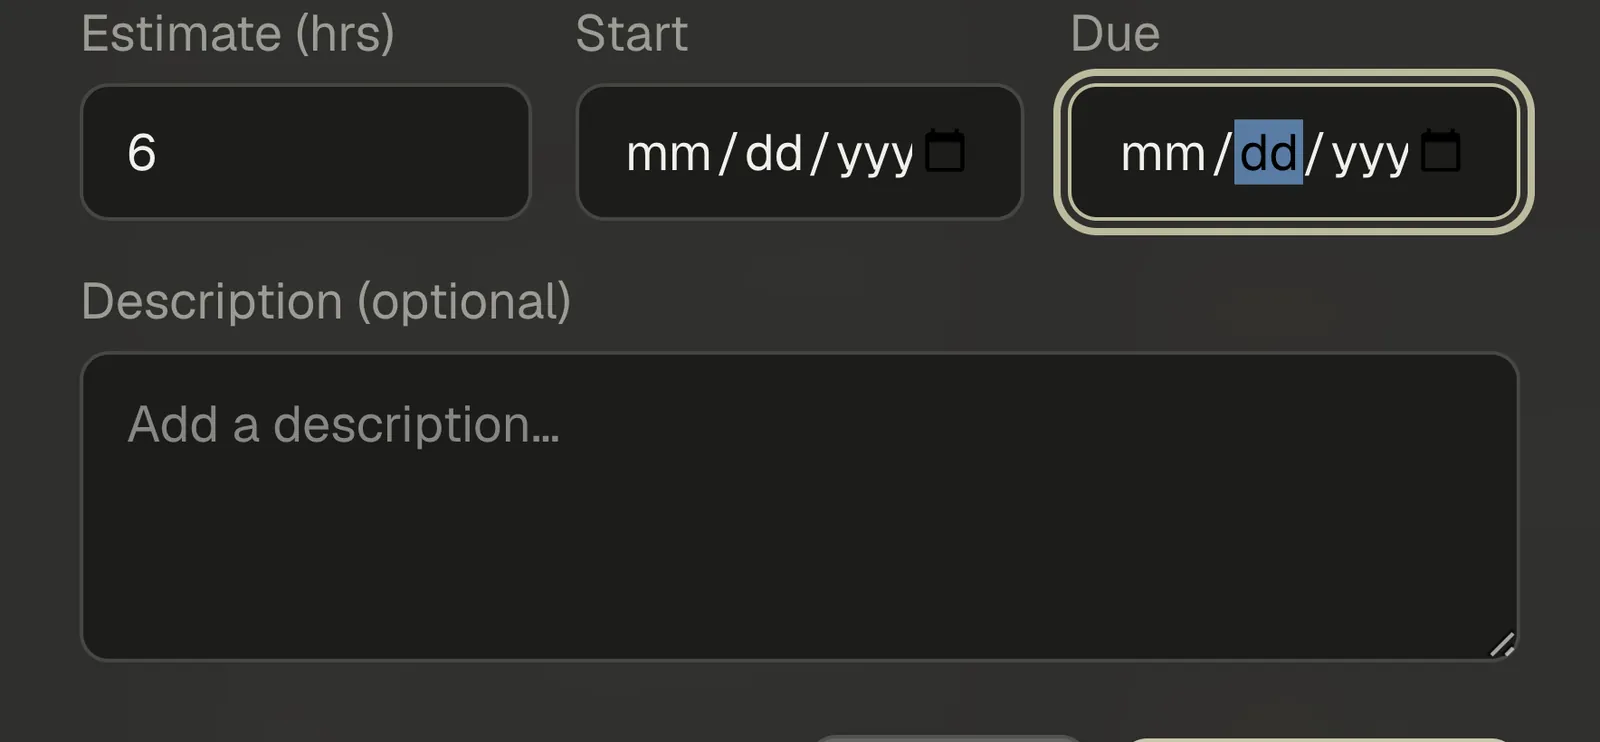
Type hours into Estimate (hrs), then use the Start and Due date pickers. All three are optional — but the estimate is what lets a column total its hours, and what CRMb later compares your crew's real punched hours against.
Step 8 — Add a description and create the task
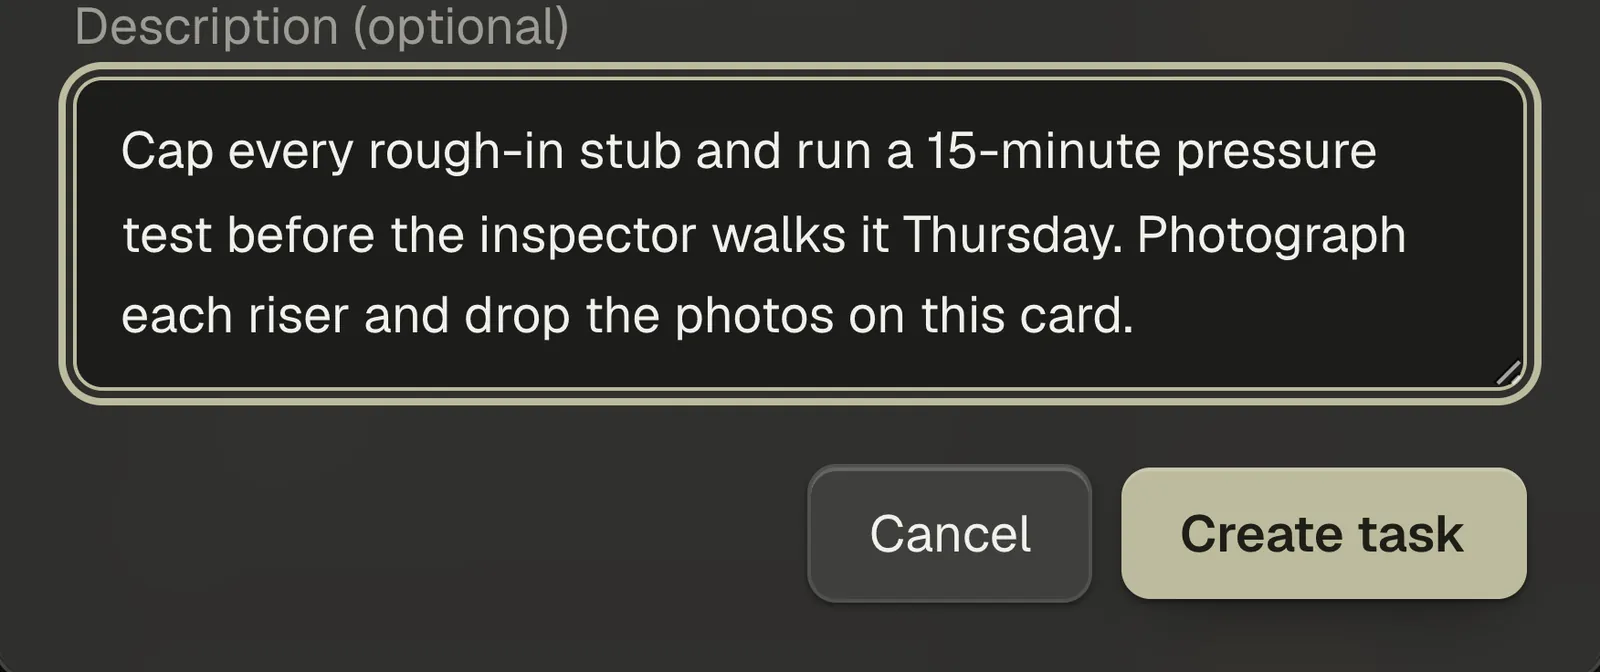
Put anything the assignee will need into Description (optional), then click Create task to save it to the board.
Step 9 — Confirm the task appears on the board
The new task appears in the column matching the status you chose — in this example, To do. The column's count goes up, and if you gave the task an estimate, so does the hours total beside it.
Part 2 — Work the task to done
Step 10 — Open the task for full details
Click a card to open its detail panel. The properties live in the rail down the right, top to bottom: Type, Status, Priority and Assignee; then Client, Project and Parent; then Start, Due and Estimate; then Labels. Everything else — the title, the description, Subtasks, Linked work items, Attachments and the comments — runs down the left.
Assignee works the same here as it did in the composer, with one addition: Assign to me sits at the top, so you can take a task in one click.
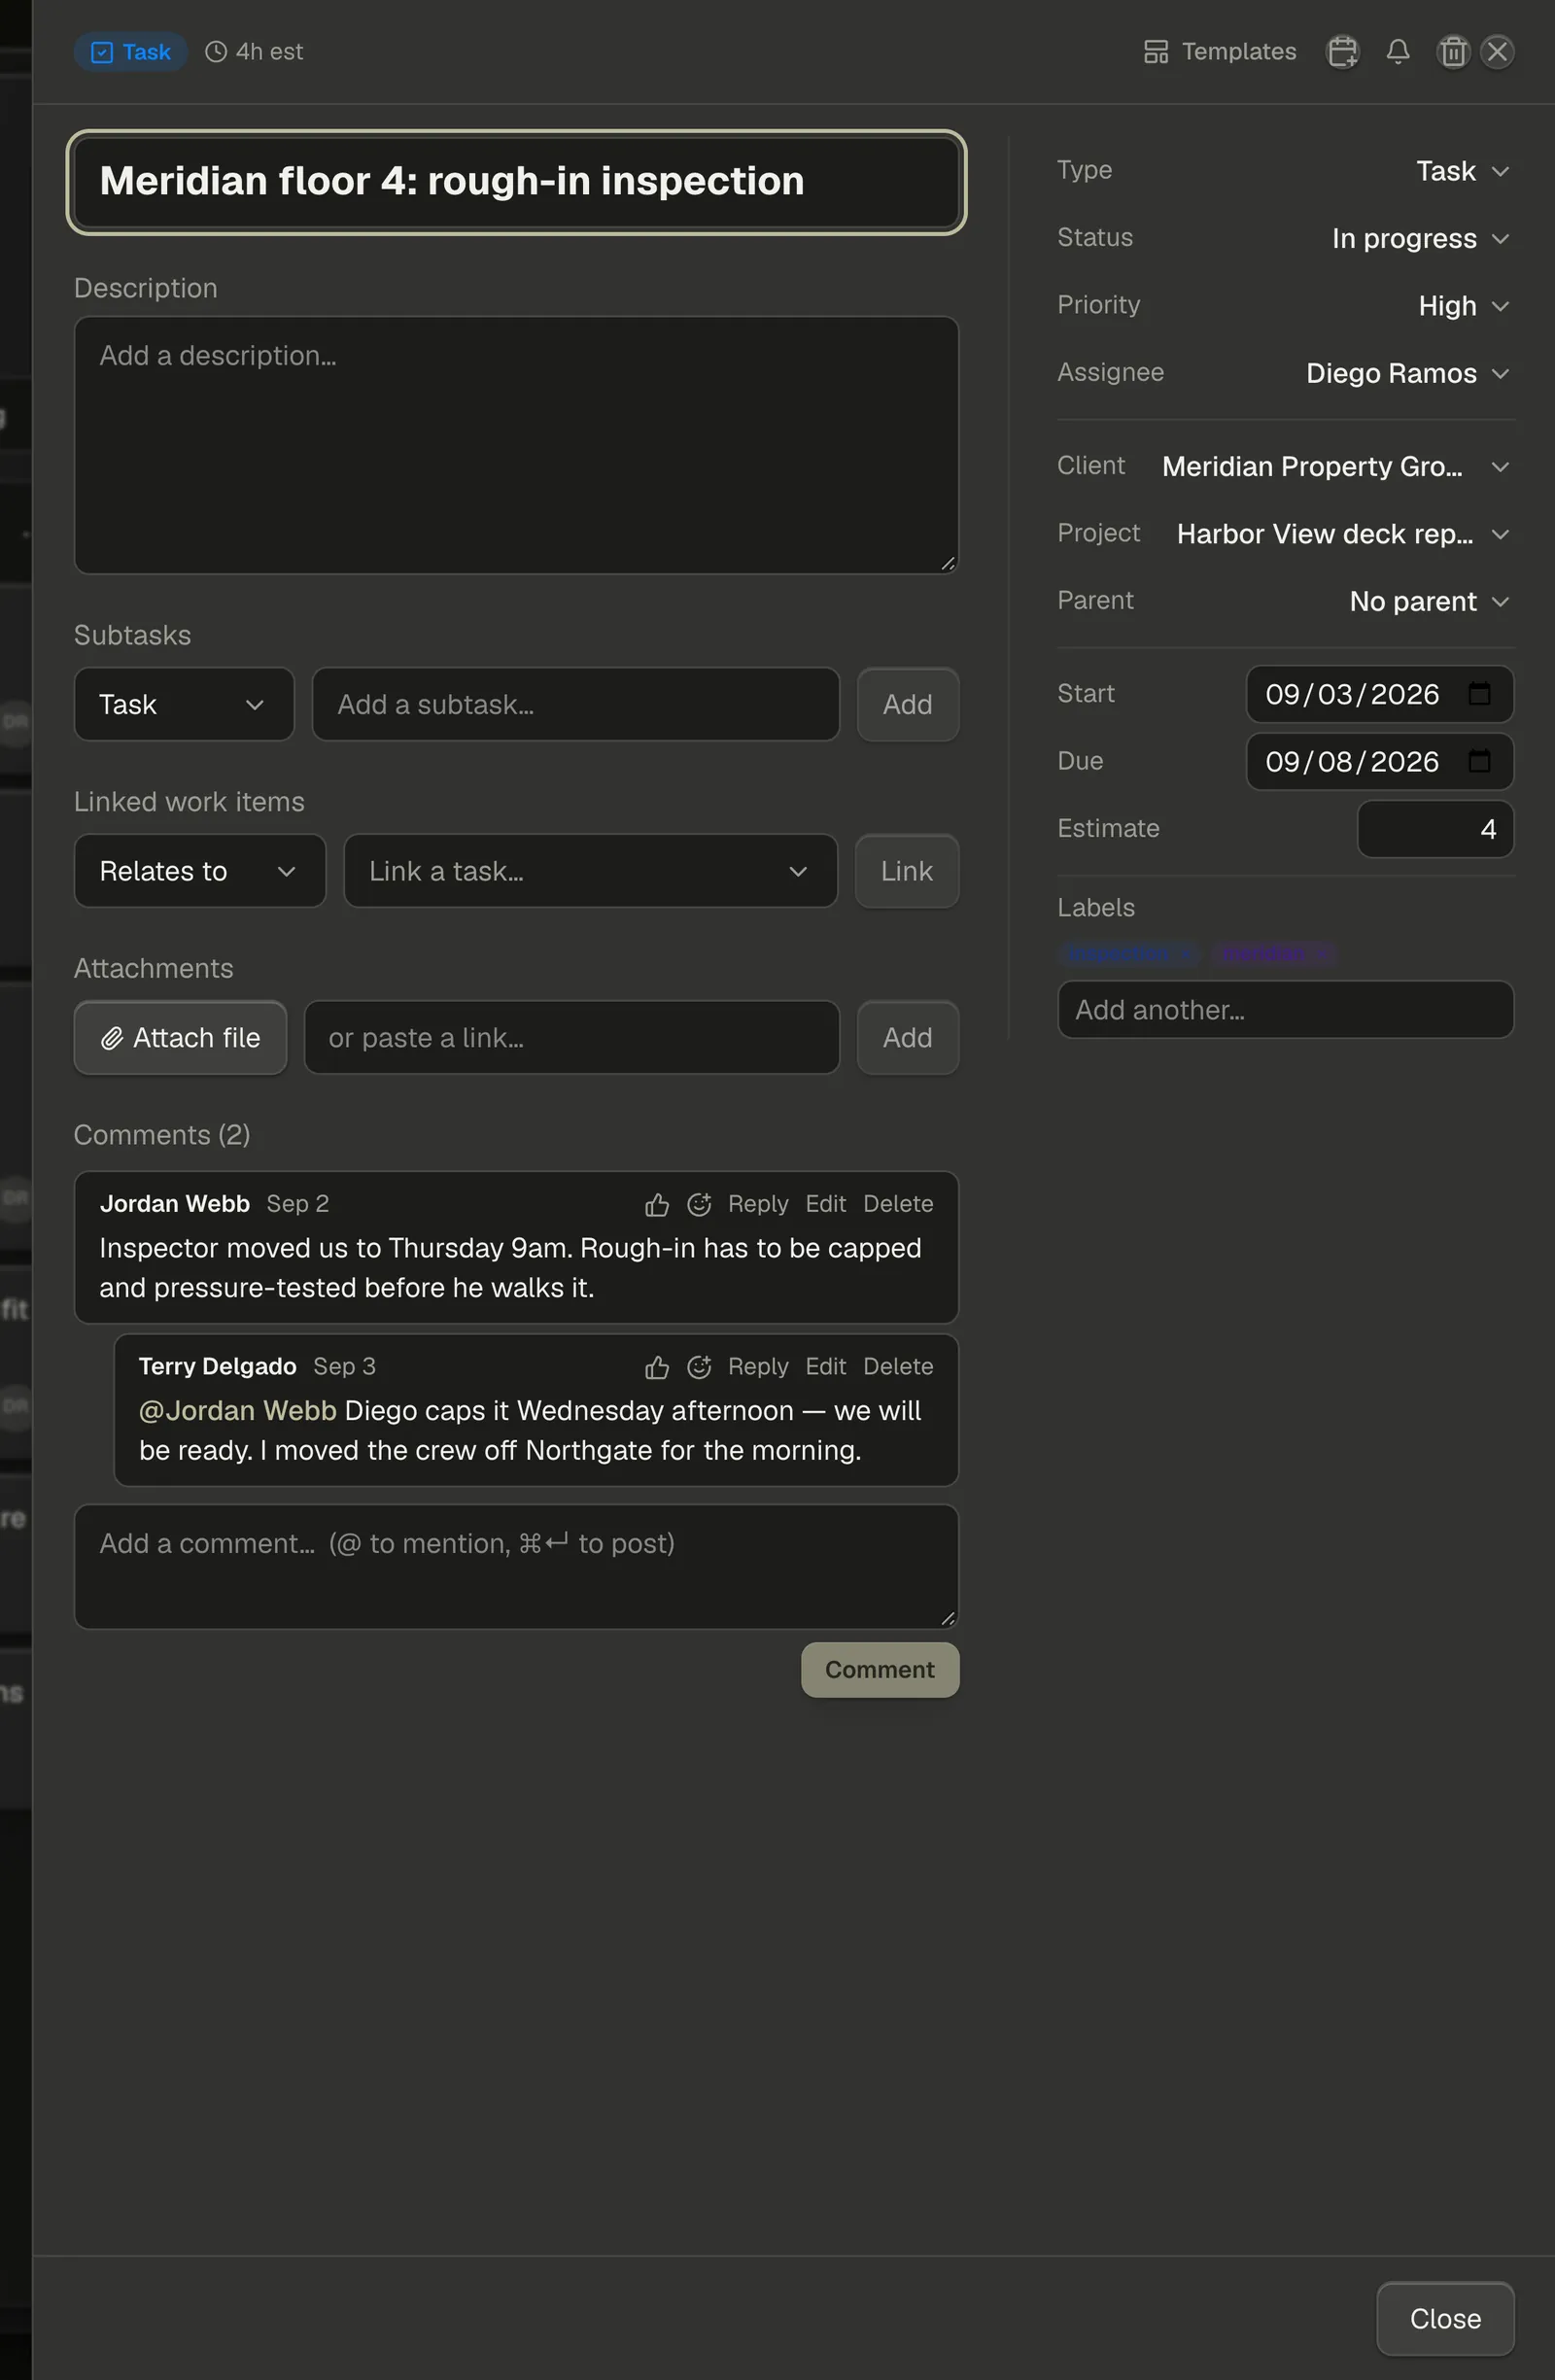
Note — Linked work items connects this task to related ones. The small picker beside it chooses the relation, and one of those relations is is blocked by — name a task that has to finish first and this card carries an orange Blocked chip on the board until it does.
Note — Edit anything in the panel and a green Save appears at the bottom. Once it has gone through it settles to a grey Saved, and stays that way until your next change.
Step 11 — Add a comment
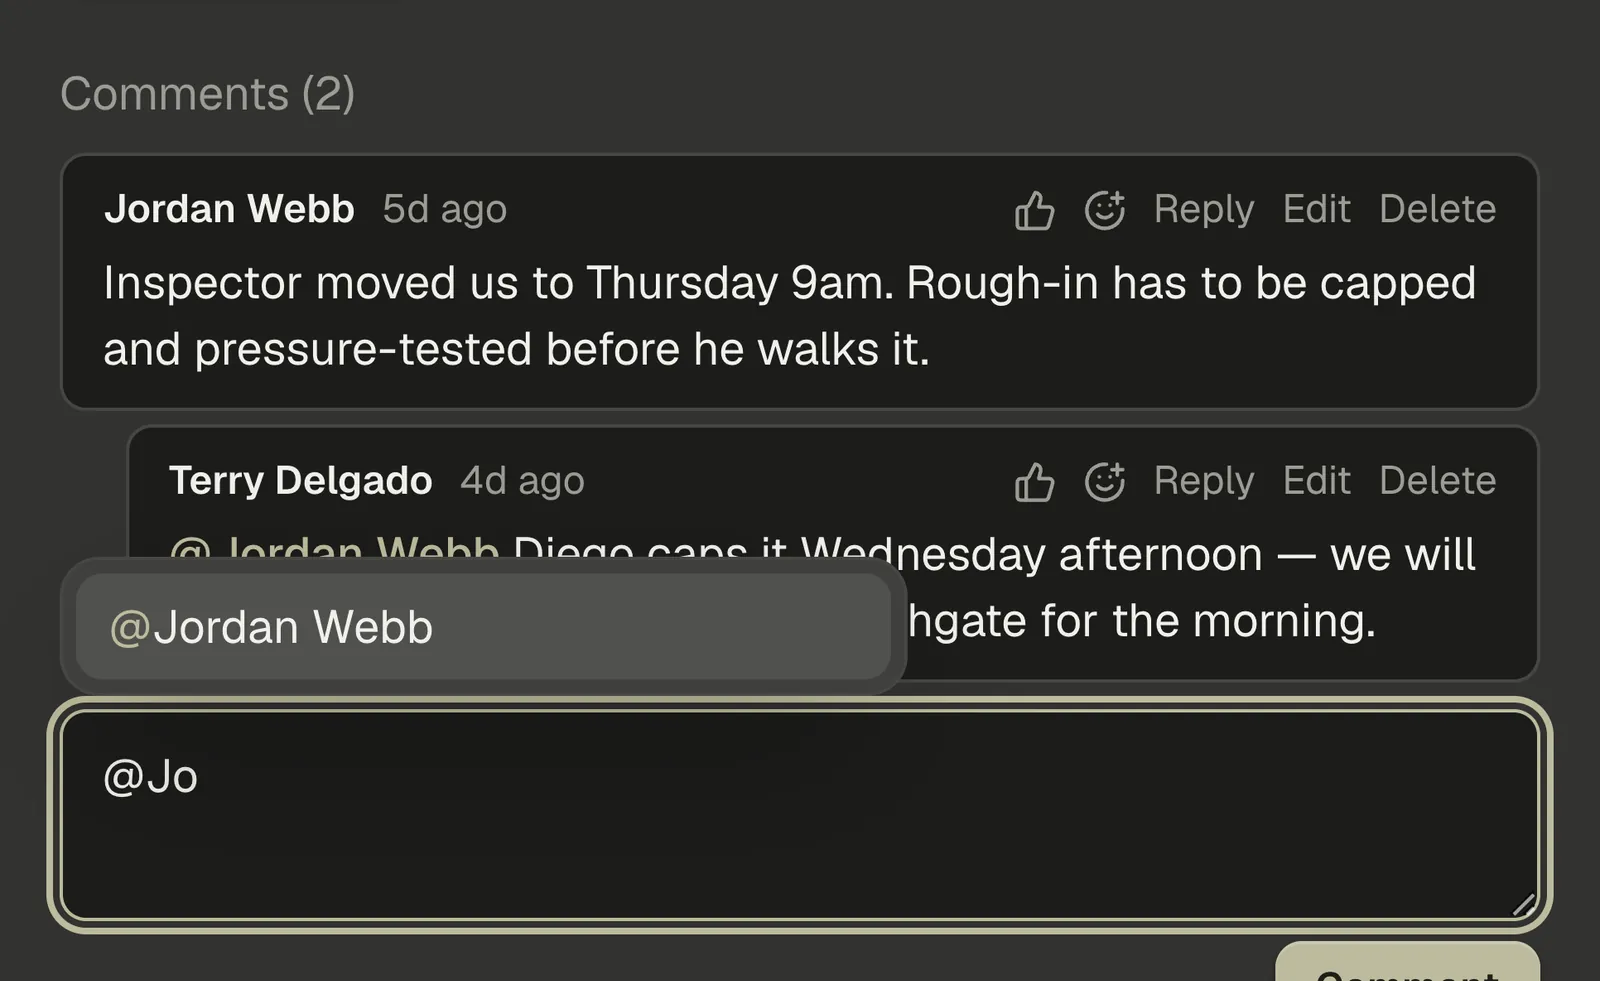
Comments sits at the foot of the left column. Type into Add a comment… to update the assignee or tag a teammate with an @mention.
Use Reply under any comment to keep a thread together — replies go one level deep, so a thread stays a thread. The emoji button adds a reaction when that says it faster than a sentence. You can edit or delete your own comments, and a manager can remove anyone's.
Step 12 — Update the status as work progresses
Open Status at any time to move the task forward — from In progress to Done once the work is finished. You can also drag the card straight across the board.
Note — You don't always have to move a card yourself. When someone punches in on a shift that's tied to a task, the card advances to your in-progress column the next time the board loads.
Step 13 — Confirm the task is complete
The task now sits in Done, and that column's count — and its hours total — update to match.
A Done column keeps its 25 most recent cards so the board stays quick. Anything older moves behind the archived · View button at the foot of that column. Nothing is deleted: open the archive to find an old card, and dragging a card back out of Done brings it home.
That's the full lifecycle, from creating a task on the Pipeline board to moving it through to done.